
Client portal
The Client portal is part of the ISPadmin system and can be used by clients to access their accounts.
Main features:
- Active services
- Traffic graphs and FUP
- Support requests / Helpdesk tickets
- Invoices
- Messages and other information from the provider
- SMS messages via an SMS gateway
The Portal is available in several languages. Its behavior and appearance can be customized in the settings.
Basic settings
Before you start using the Client portal, it is necessary to set up the system. The DNS records, allowed ports and Apache webserver must be configured correctly. Instructions HERE.
Login
New password creation
Important
From version 5.11 beta1 on, it is no longer possible (for security reasons) to display, edit or copy Client portal passwords using the $CLI_PASSWORD$ variable!
Client portal passwords can be created/changed with the help of a link in the corresponding email.
If a client forgot their password or never had one, it is possible to proceed in the following ways:
- Client – The client can create a new password via the Portal.
- ISPadmin user – Any of the system users with the relevant permissions can send an email to the client which contains a direct link to the form for creating a new password.
Client
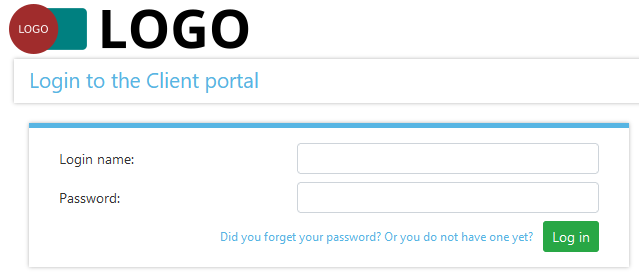
If the client does not see the “Did you forget your password? Or you do not have one yet?” link next to the Log in button, you should check whether the system_mail and system_mail_name settings in Settings -> Syst. settings -> General are set up. If not, you need to change the settings. Otherwise, no from address would be available for the purposes of these emails.
When the client clicks on the “Did you forget your password? Or you do not have one yet?” link, they can request a new password. Depending on the ci_forgotten_password setting (Settings –> Syst. settings –> Client portal –> General), they enter either their email address or their username. If a match is found based on the entered data, the system sends an email to the client that contains a link for creating a new password.

If no template is created for the New CP password situations, a predefined version of the Create new password email is used. Each invoice group can have its own version of the template. You can set this up in the invoice group settings in Invoicing –> Settings –> Invoice groups.
ISPadmin user
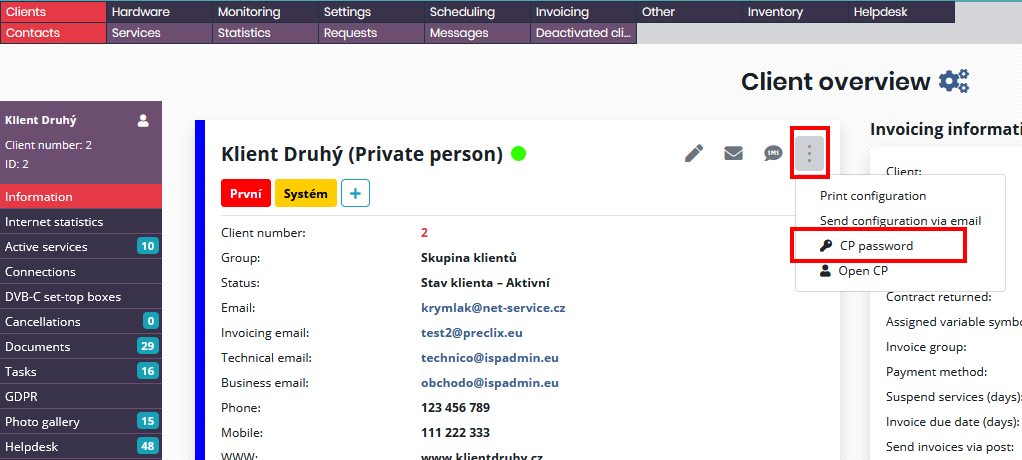
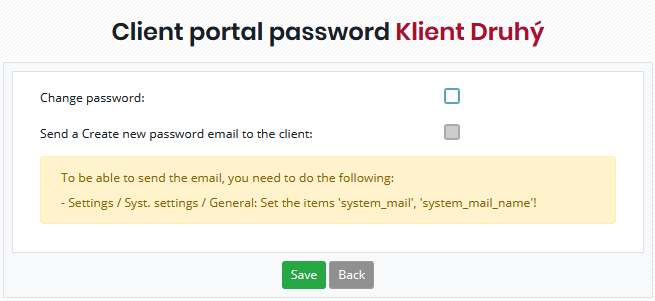
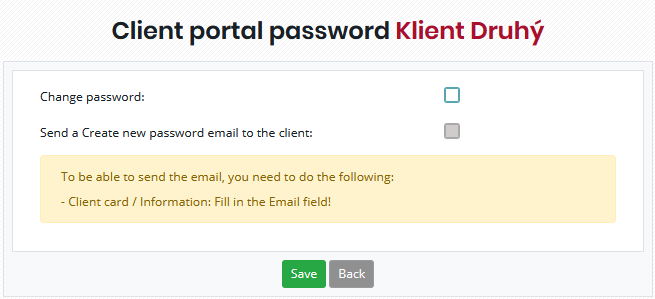
If you click on the CP password (![]() ) button and a message appears on the form that informs you of the fact that the system email and its name are not available (see image below), you need to change the corresponding settings: system email address (system_mail) and system email address name (system_mail_name) in Settings -> Syst. settings -> General.
) button and a message appears on the form that informs you of the fact that the system email and its name are not available (see image below), you need to change the corresponding settings: system email address (system_mail) and system email address name (system_mail_name) in Settings -> Syst. settings -> General.
The system can also inform you of the fact that no email address is available for the client. An email address must be entered so that the system can send an email to that address.
On the form, you can generate a new password (a password generated by the system) or create a new password (a password manually entered by you, for example, based on a telephone conversation with the client). When you click on the Save (![]() ) button, the password is saved. The client can then use it for login. The manually entered password must have a minimum number of characters specified in the ci_client_password_min_length setting (Settings -> Syst. settings -> Client portal -> General).
) button, the password is saved. The client can then use it for login. The manually entered password must have a minimum number of characters specified in the ci_client_password_min_length setting (Settings -> Syst. settings -> Client portal -> General).
The password generated/created this way can be used to access the Client portal only once.

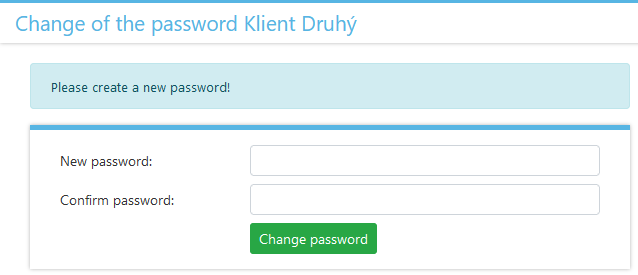
When the client logs in successfully using the generated/created password, they are asked to enter a new password.
Another option is to send an email in which you ask your client to create a new password. When you click on the Save (![]() ) button, the system sends an email with the relevant link to the client.
) button, the system sends an email with the relevant link to the client.

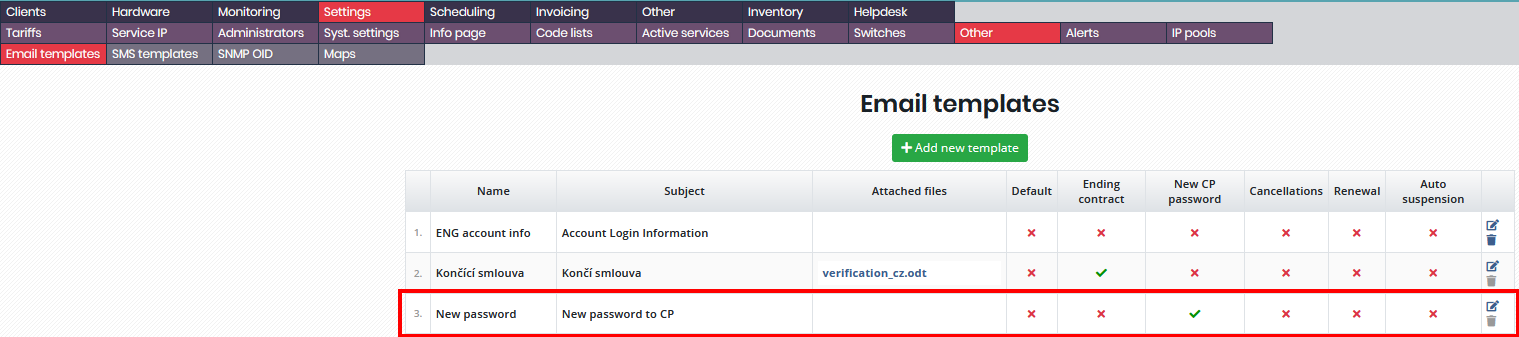
The contents of such emails can be specified in the email template settings in Settings -> Other -> Email templates. The email template you want to use for this purpose must have a New CP password attribute. Click on the icon in the corresponding column. The ![]() icon appears. In the template editor, you have to enter the $CI_PASSWORD_LINK$ variable. The variable is replaced with a link to the Client portal for password change.
icon appears. In the template editor, you have to enter the $CI_PASSWORD_LINK$ variable. The variable is replaced with a link to the Client portal for password change.
It is necessary to check whether the ci_url setting in Settings -> Syst. settings -> Client portal -> General contains the correct Client portal address. Otherwise, the link is created based on the ispadmin_server setting in Settings -> Syst. settings -> General: In this case, the /clientinterface/ string is appended to the end of the address.
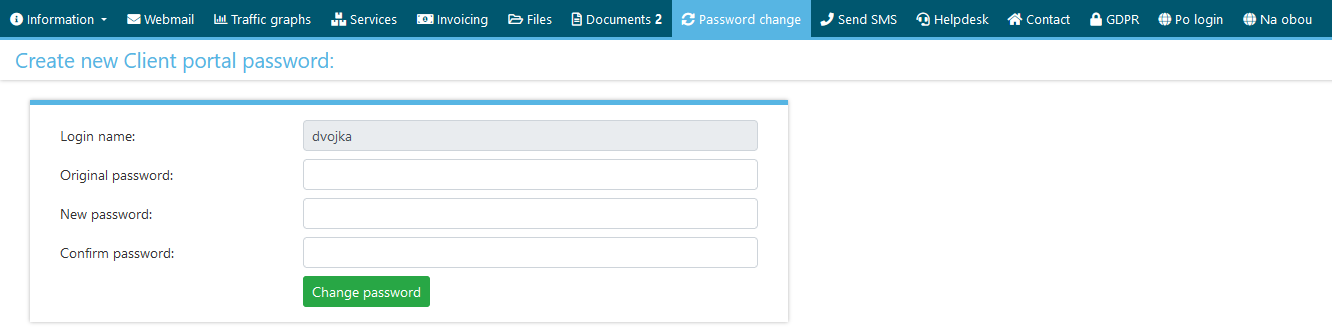
When the client clicks on the link in the email, they are taken to the form displayed below. There they have to enter a new Client portal password twice.
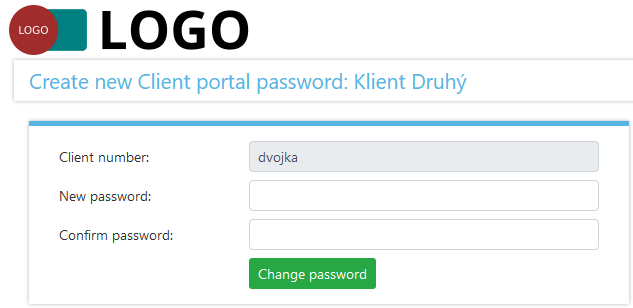
Once the new password is created, the Client portal account is ready to be used by the client whenever they want.
Client login
After the initial setup (when the Client portal is available on your correctly configured domain), clients can log in to the Client portal.

Client portal login name
You can choose whether clients will be able to log in using their client number or their custom username. The relevant setting is ci_enable_login_name_creation (Settings -> Syst. settings -> Client portal -> General). If a custom username is entered in the Client card, that username is used (regardless of any future setting changes).
Login attempts
If a client enters incorrect login credentials several times in a row, they will be prevented from logging in for a certain period of time (15 minutes). The number of attempts is linked to a particular client.
Client portal tabs
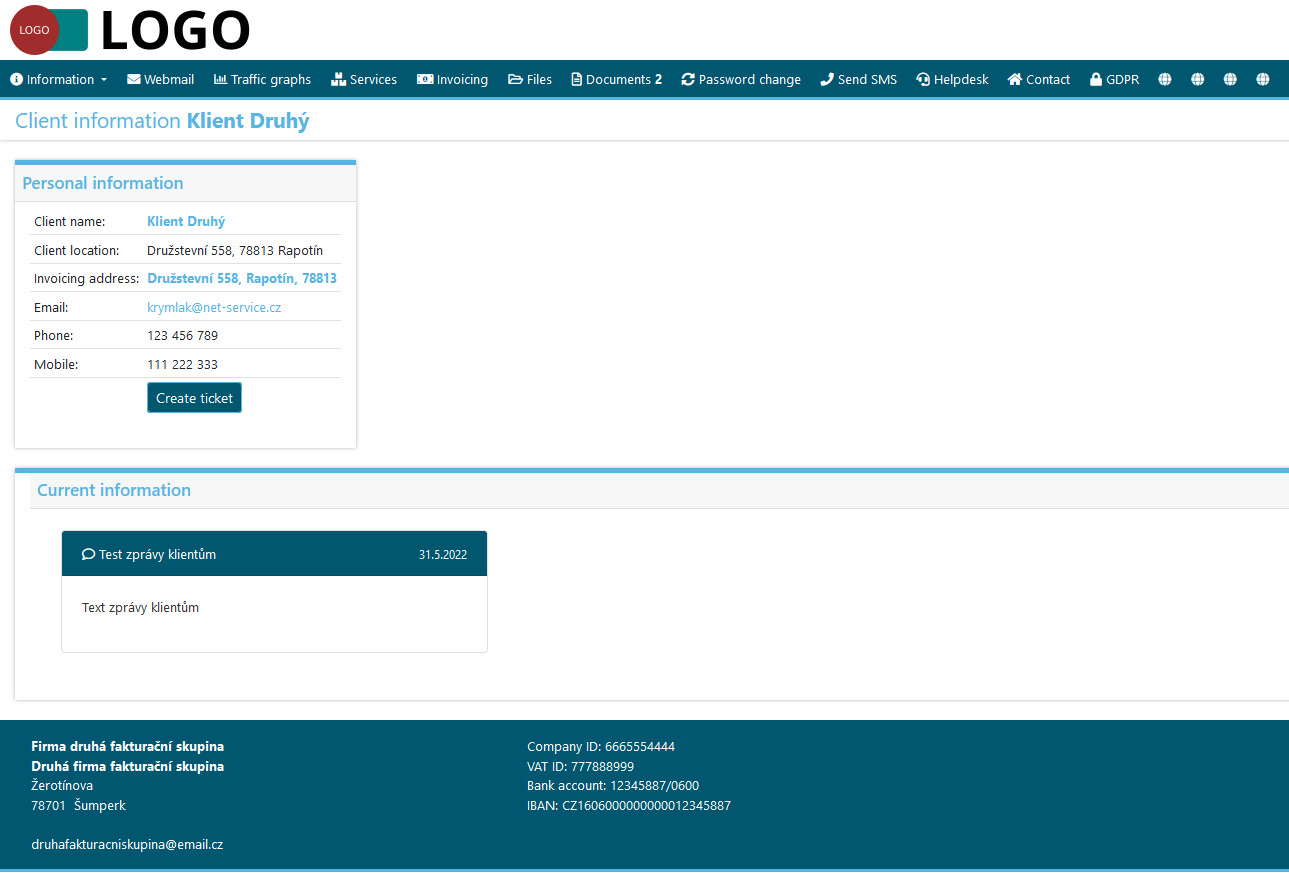
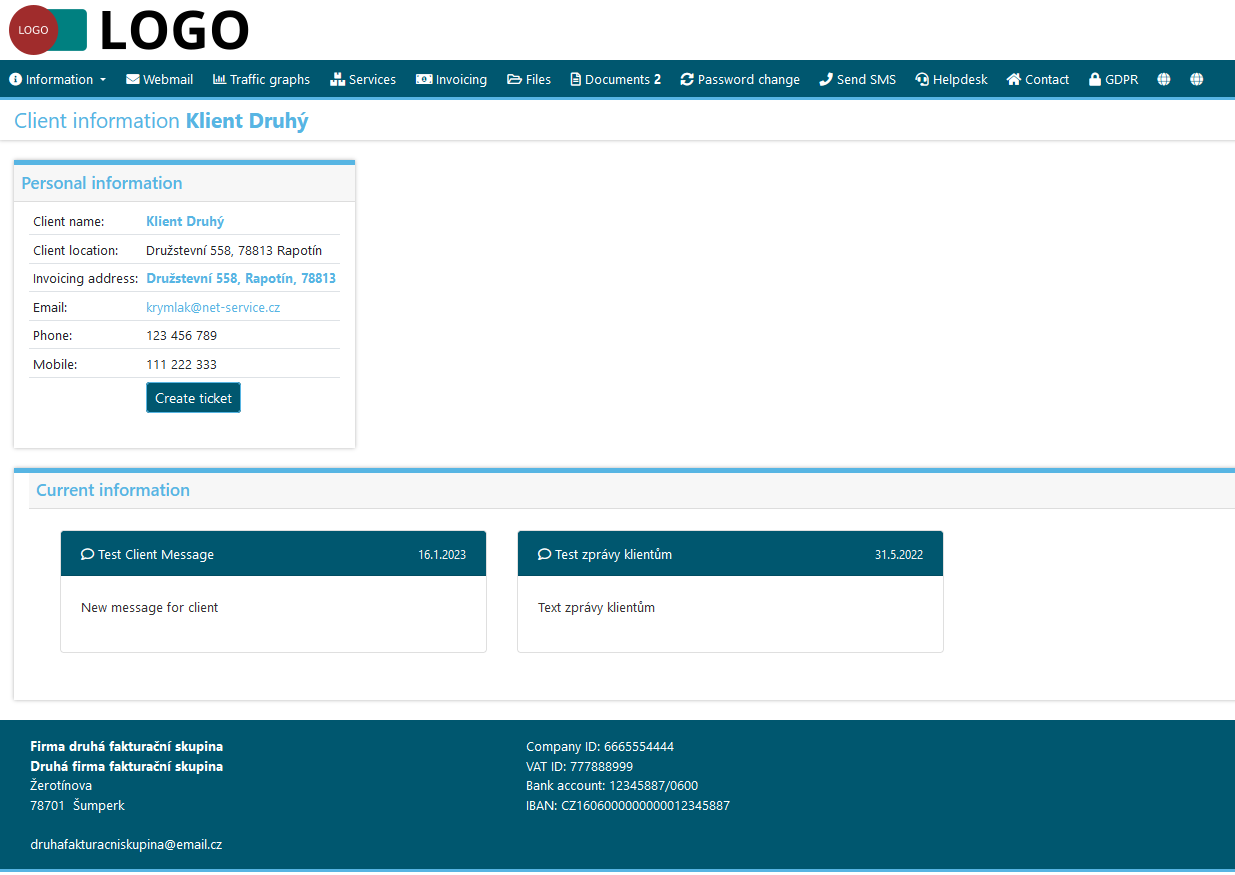
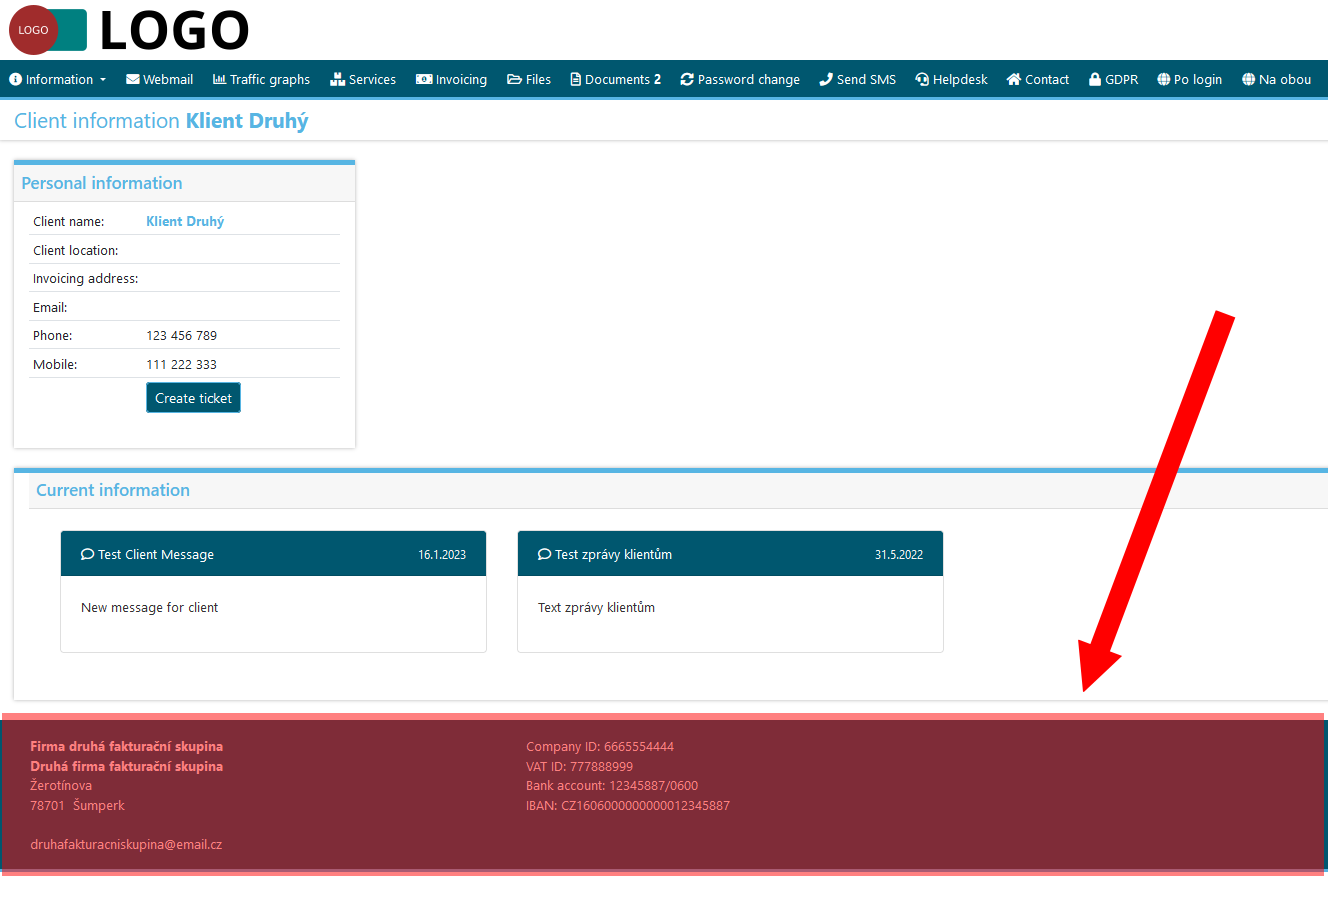
Information
- Personal information – This section contains essential information about the client (name, mailing address, invoicing address, email address, phone number, mobile phone number) and an option to create a support request or a Helpdesk ticket.
- Current information – If there are any messages for the client (private or global), they are displayed in this section. You can create a private message for the client in their Client card (tab Messages) or you can create a global message for all clients (or those belonging to a particular invoice group) – Clients –> Messages.
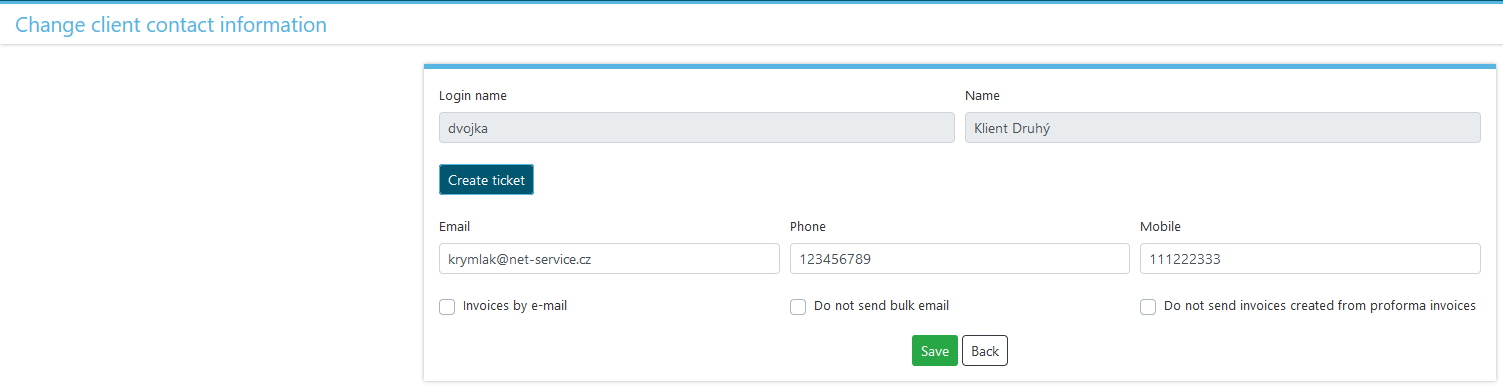
Data change
The client contact data change option is available if the ci_enable_cllient_data_change setting is enabled (Settings -> Syst. settings -> Client portal -> General).
Webmail
This button serves as a link to the email account login form. The link address can be specified in the ci_webmail_url setting (Settings -> Syst. settings -> Client portal -> General).
Traffic graphs
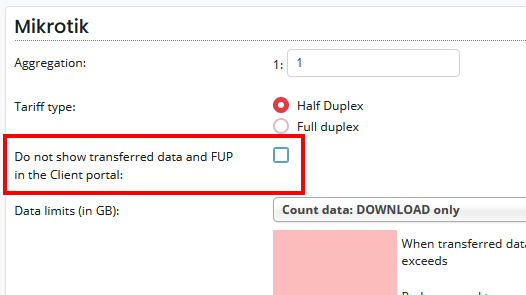
If you want your clients to be able to view their traffic graphs, you need to enable this option in the ci_display_graph_tab setting (Settings -> Syst. settings -> Client portal -> General).
Whether graphs are displayed or not is also dependent upon the individual tariff configuration – option Do not show transferred data and FUP in the Client portal.

Services
Overview of the client’s active services.
When the client clicks on the Data transferred button (![]() ), they are taken to their transferred data statistics. The button is available for Internet services and its visibility depends on the ci_display_graph_tab setting in Settings -> Syst. settings -> Client portal -> General or the Do not show transferred data and FUP in the Client portal setting in the individual tariff configuration.
), they are taken to their transferred data statistics. The button is available for Internet services and its visibility depends on the ci_display_graph_tab setting in Settings -> Syst. settings -> Client portal -> General or the Do not show transferred data and FUP in the Client portal setting in the individual tariff configuration.
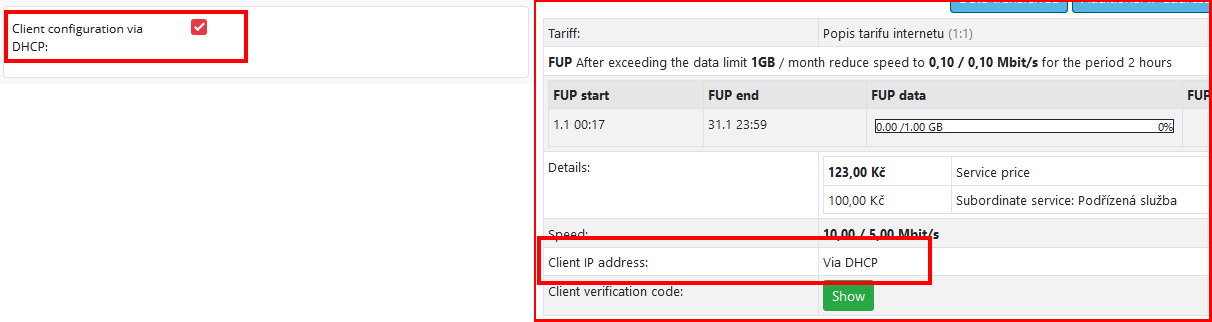
If the Client configuration via DHCP box in the Internet service settings is checked, the Client IP address item on this page contains the text Via DHCP, not the IP address entered in the service settings. The same applies to the PDF configuration file in the Client card. This text informs clients of the fact that their router has been configured by the provider and the IP address set on the router’s WAN interface is practically not usable for them.
Invoicing
Overview of the client’s invoices and other invoicing-related information.
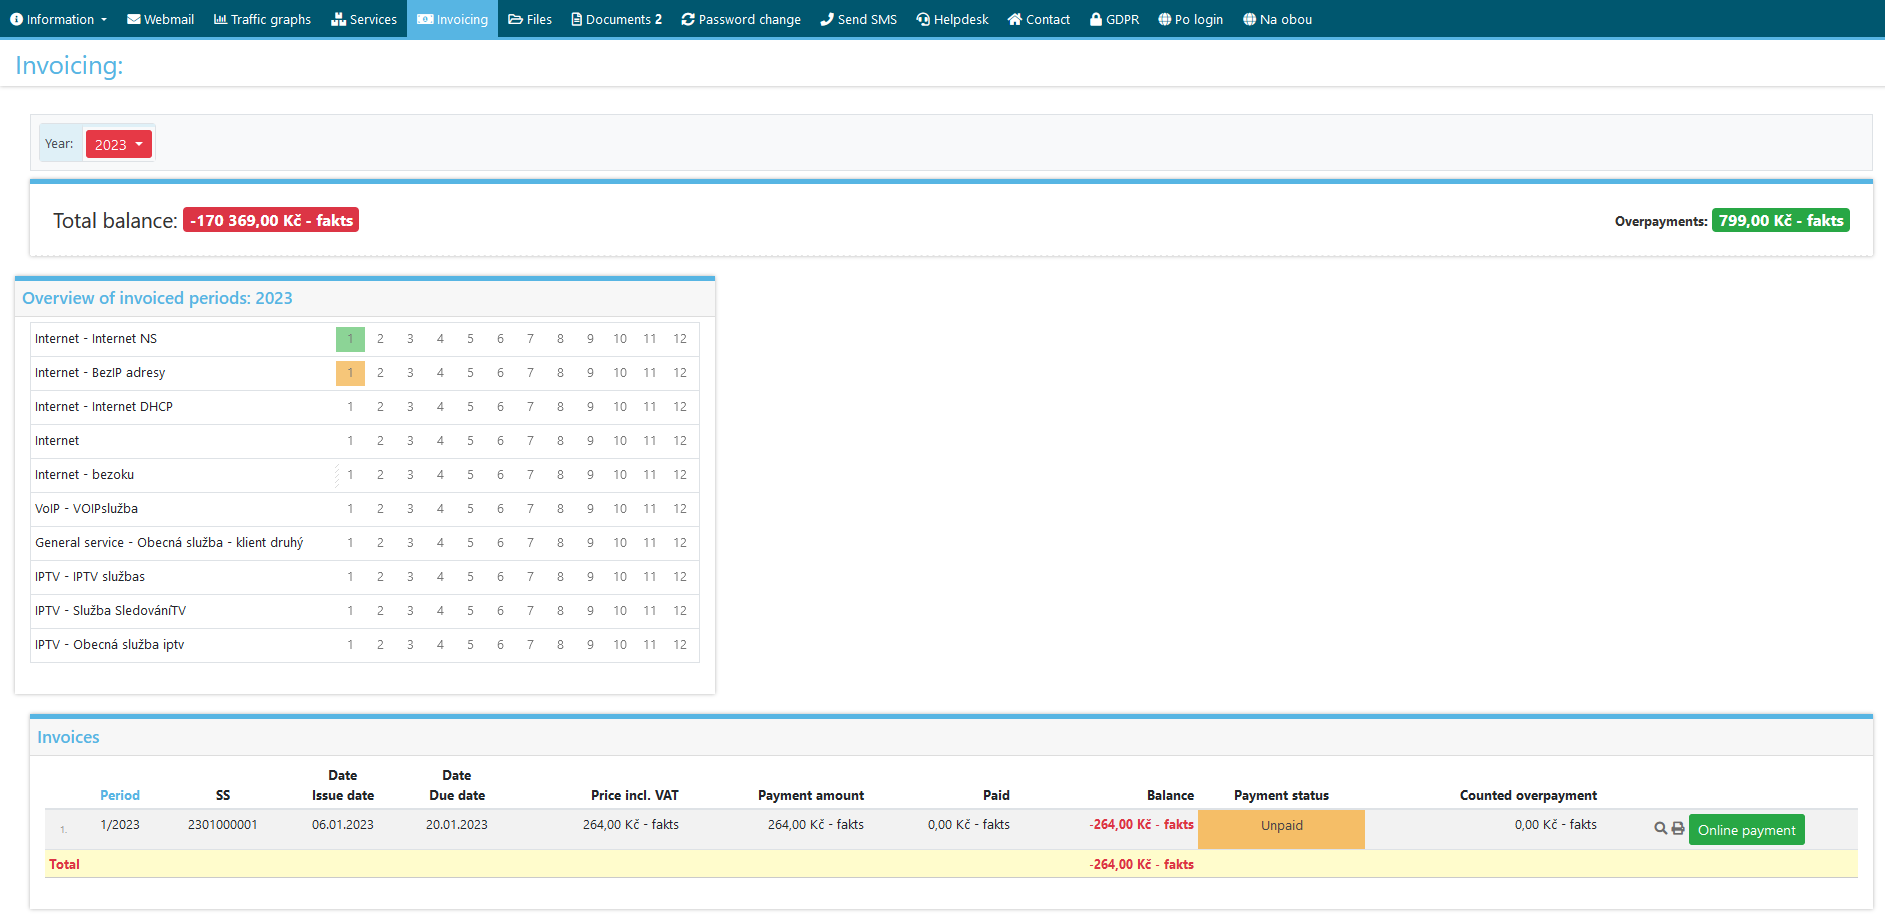
Related settings:
- ci_display_invoices_tab – Show / Do not show the Invoicing tab.
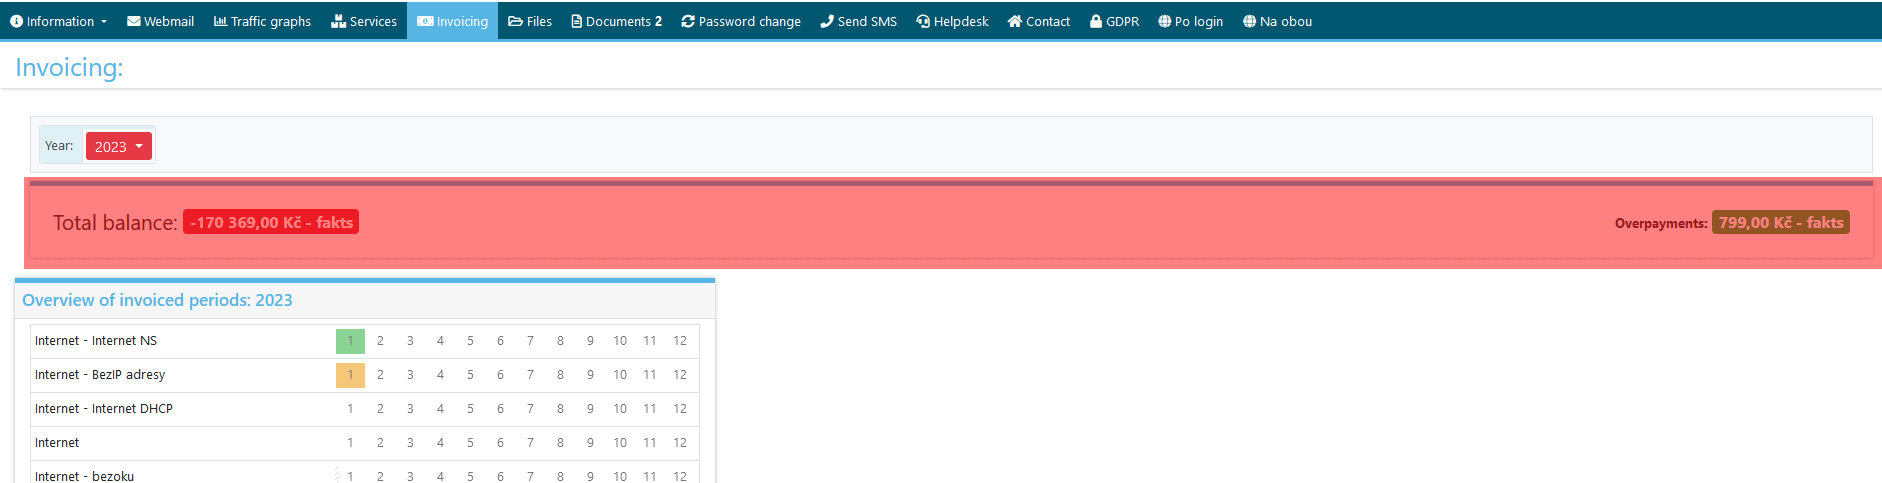
- ci_display_balance – Show / Do not show the client’s balance.
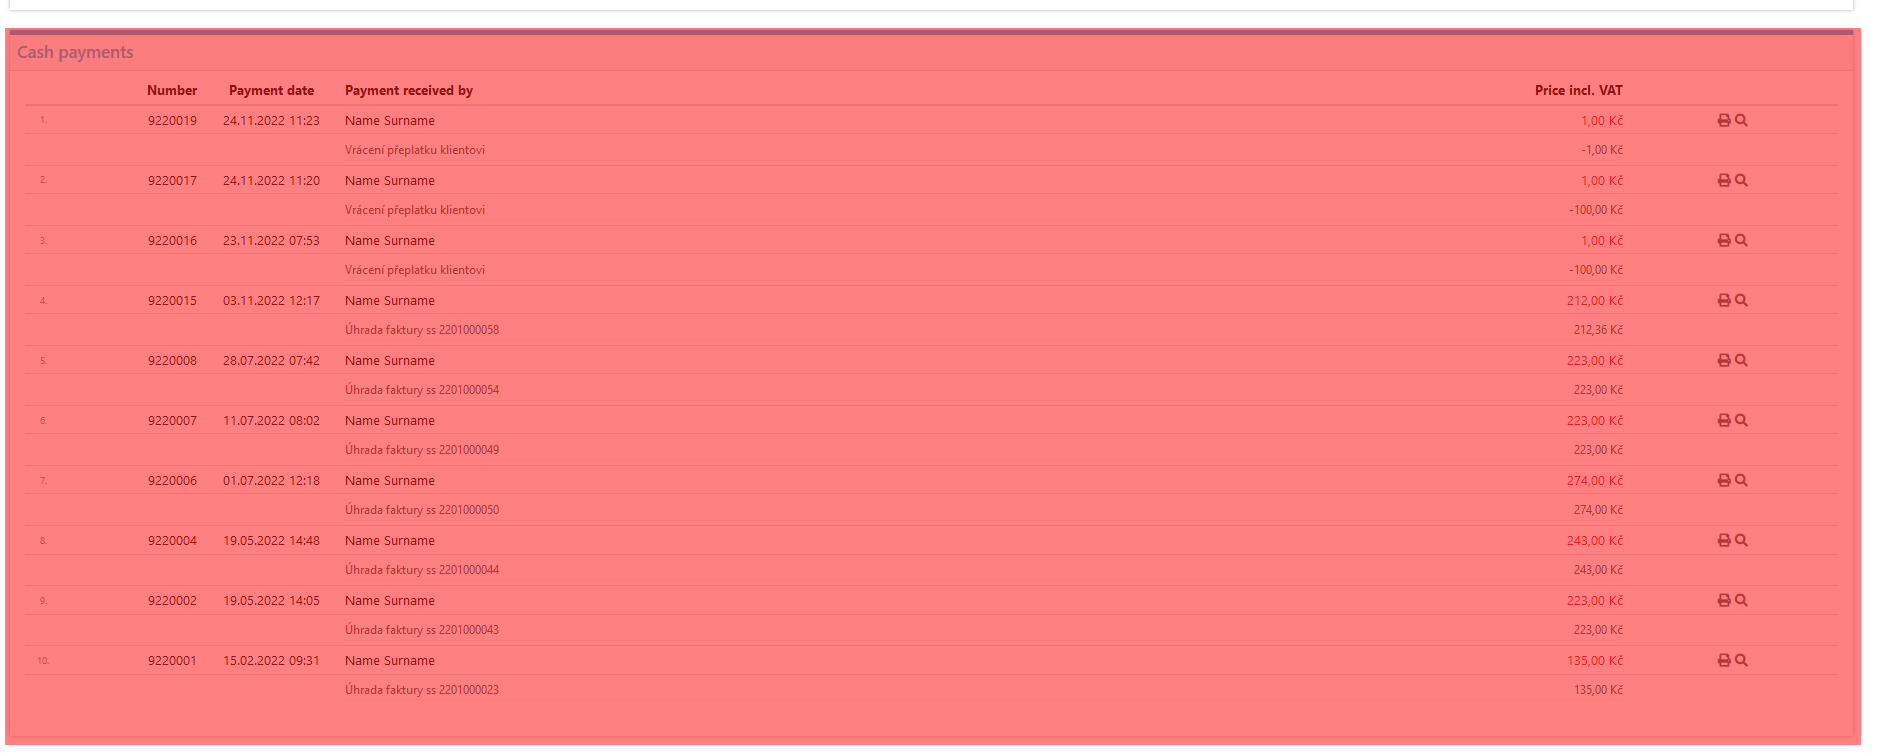
- ci_display_cash_payments – Show / Do not show cash payments.
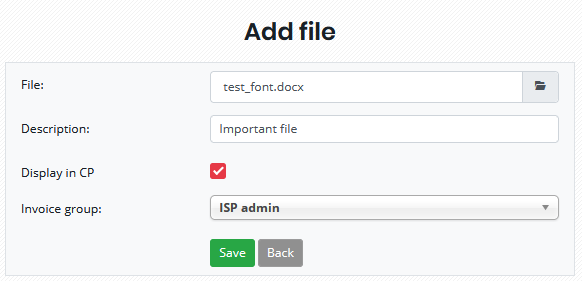
Files
Files can be displayed in the Client portal. Files displayed in this tab can be set up in Other -> Files. Files can be displayed to clients belonging to a particular invoice group only (if no group is chosen, no restrictions are applied).
This tab is visible only if the ci_display_documents_tab setting is enabled (Settings -> Syst. settings -> Client portal -> General).

Documents
List of the client’s contracts and other documents.
Related settings:
- ci_display_contracts_tab – Show / Do not show documents in the Client portal.
For a document to be displayed in the Client portal, it must have a Display in CP attribute.

Password change
In this tab, the client can change their Client portal password.
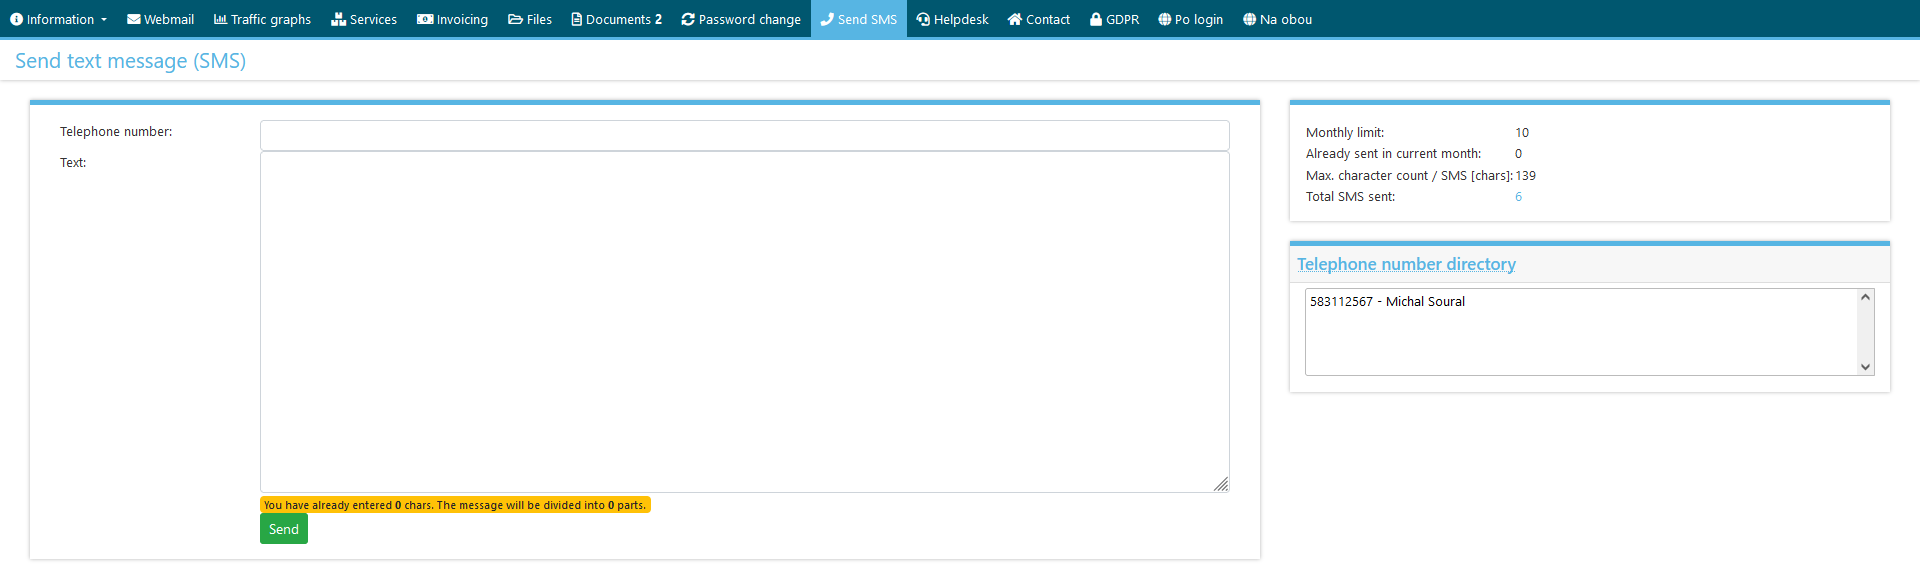
Send SMS
This tab is visible only if you have an SMS gateway connected to the server or a properly configured SMPP connection to an SMS service (the sms_notify setting in Settings -> Syst. settings -> General) and the ci_sms_enable setting in the Client portal settings (Settings -> Syst. settings -> Client portal -> General) is enabled. If the setting is enabled, it allows clients to send SMS messages from the Client portal. You can limit the number of messages per month that can be sent this way: ci_sms_per_month. If the value is not null, the limit is applied.
Telephone number directory
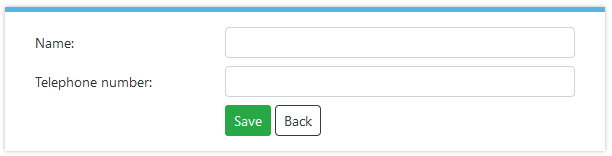
Clients can add often used contacts to the directory. When they click on the Telephone number directory option, they can manage their contacts.

A new contact can be added to the directory by clicking on the Add contact button (![]() ). The form is saved by clicking on the Save button (
). The form is saved by clicking on the Save button (![]() ).
).
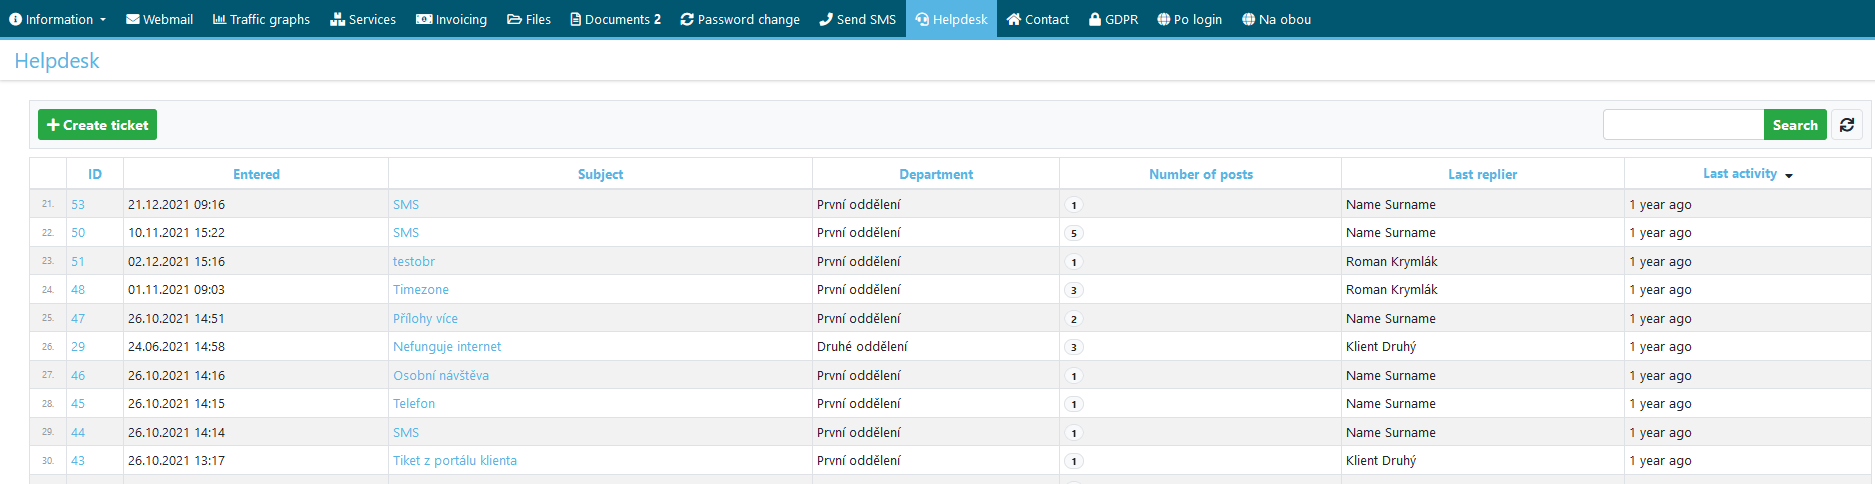
Helpdesk
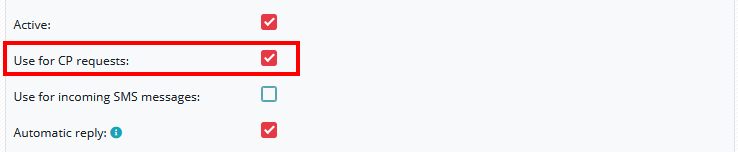
If the Helpdesk module is included in your license and if the Use for CP requests option is enabled for a particular department (Helpdesk -> Settings -> Department), the main menu in the Client portal contains the Helpdesk tab. Here clients can view their entire conversations with the staff (Email, SMS, In person, Telephone) from all departments. They can also create new tickets/requests, but those are automatically assigned to the department with a Use for CP requests attribute.
Items of the In person and Telephone type are displayed in the Client portal with no contents. If sms_notify (Settings -> Syst. settings -> General) is set to 0 (= Disabled), items of the SMS type are also displayed with no contents.
If sms_notify is set to a different option (SMS gateway, SMPP protocol), items of the SMS type contain the texts of the individual messages. That is, if you can send SMS messages from the system to the client, the client can read them on their device, which is why there is no reason to hide the texts.

Helpdesk reply with a link to the Client portal
When a reply is sent from Helpdesk, a text with a link to the Client portal is appended to the end of the message (email only). The text is given and cannot be changed (the text varies according to the language version used): “You can view the entire conversation in the Client portal.“
For the text to appear in Helpdesk replies, several conditions must be met (see below).
Conditions:
- The ci_url setting (Settings -> Syst. settings -> Client portal -> General) or the ispadmin_server setting (Settings -> Syst. settings -> General) must be filled in. The Client portal links are generated based on the specified domain name or using /clientinterface.
- One of the Helpdesk departments must have a Use for CP requests attribute. If no department has this attibute, the Helpdesk tab is not displayed in the Client portal. New tickets created from the Client portal are automatically assigned to the specified department. Follow-up replies may come from various departments.
- A client from the system must be assigned to the ticket (either automatically or manually by the user).
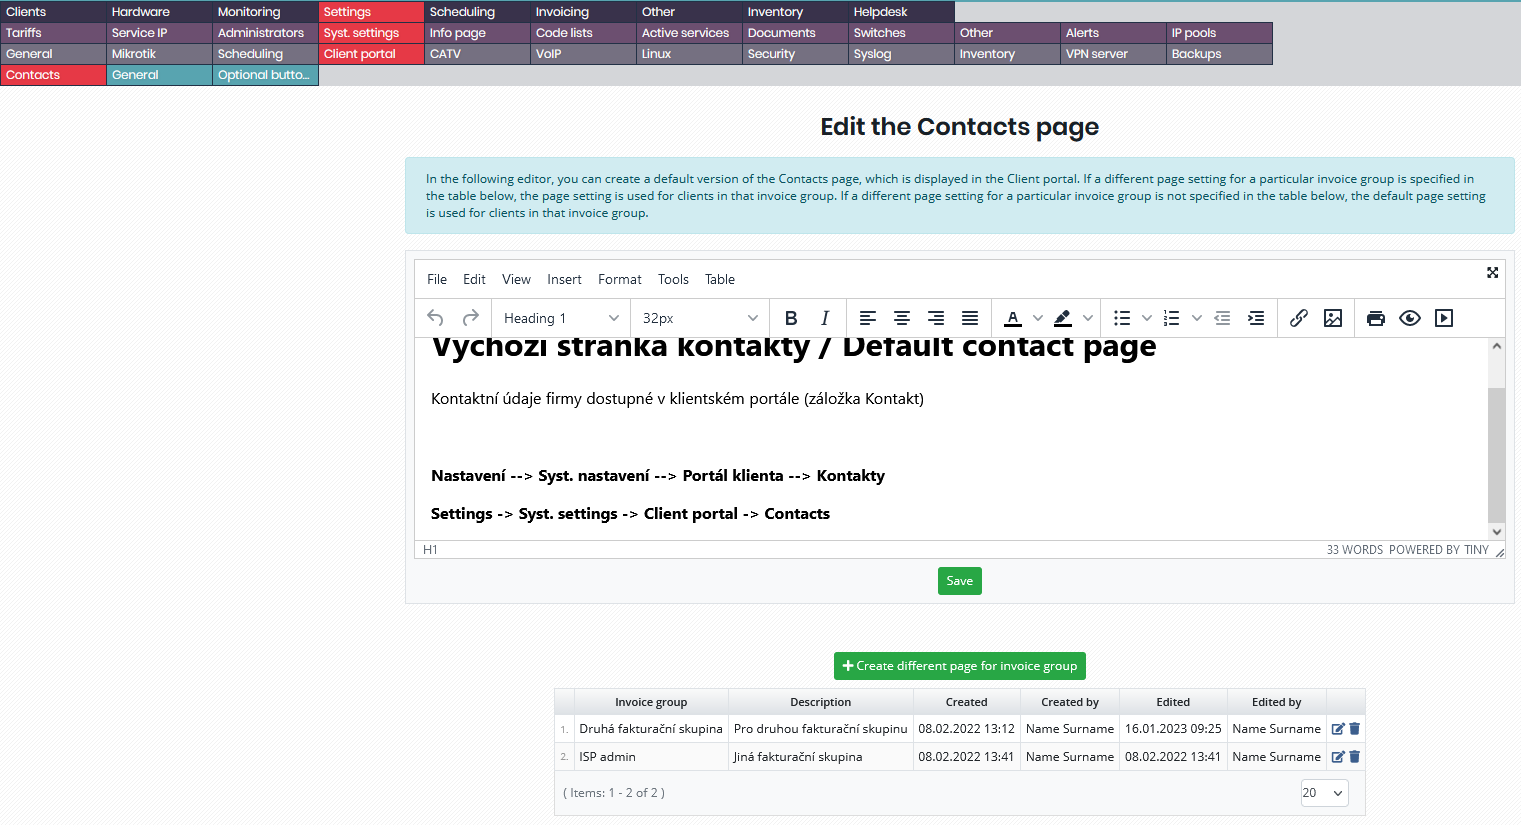
Contact
The contents of the Contact page can be specified in Settings -> Syst. settings -> Client portal -> Contacts. You can enter the text you want into the editor. The text will then appear on the Contact page in the Client portal.
You can enter a default text for all invoice groups or different texts for different invoice groups.

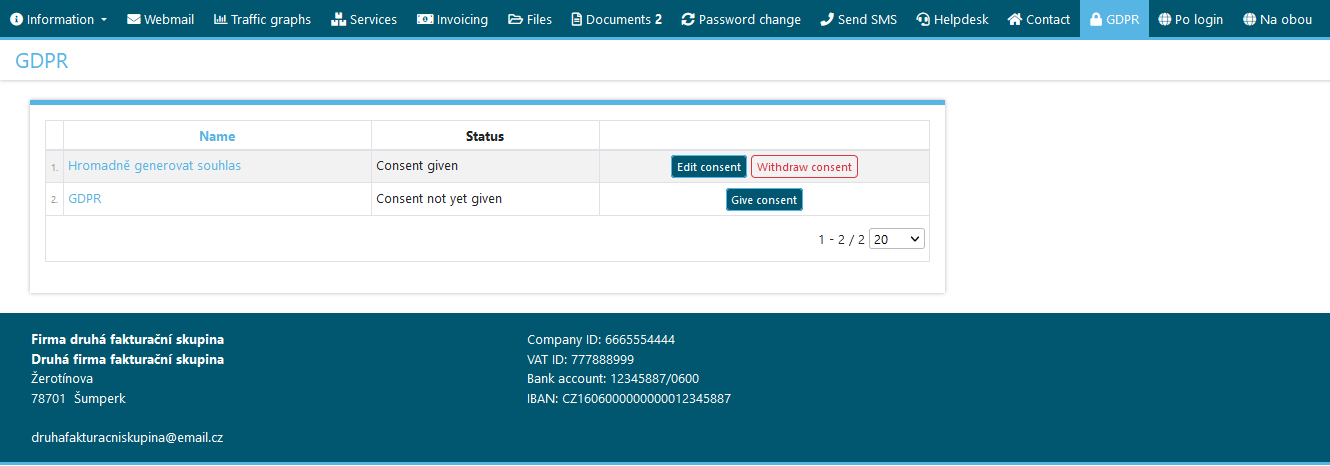
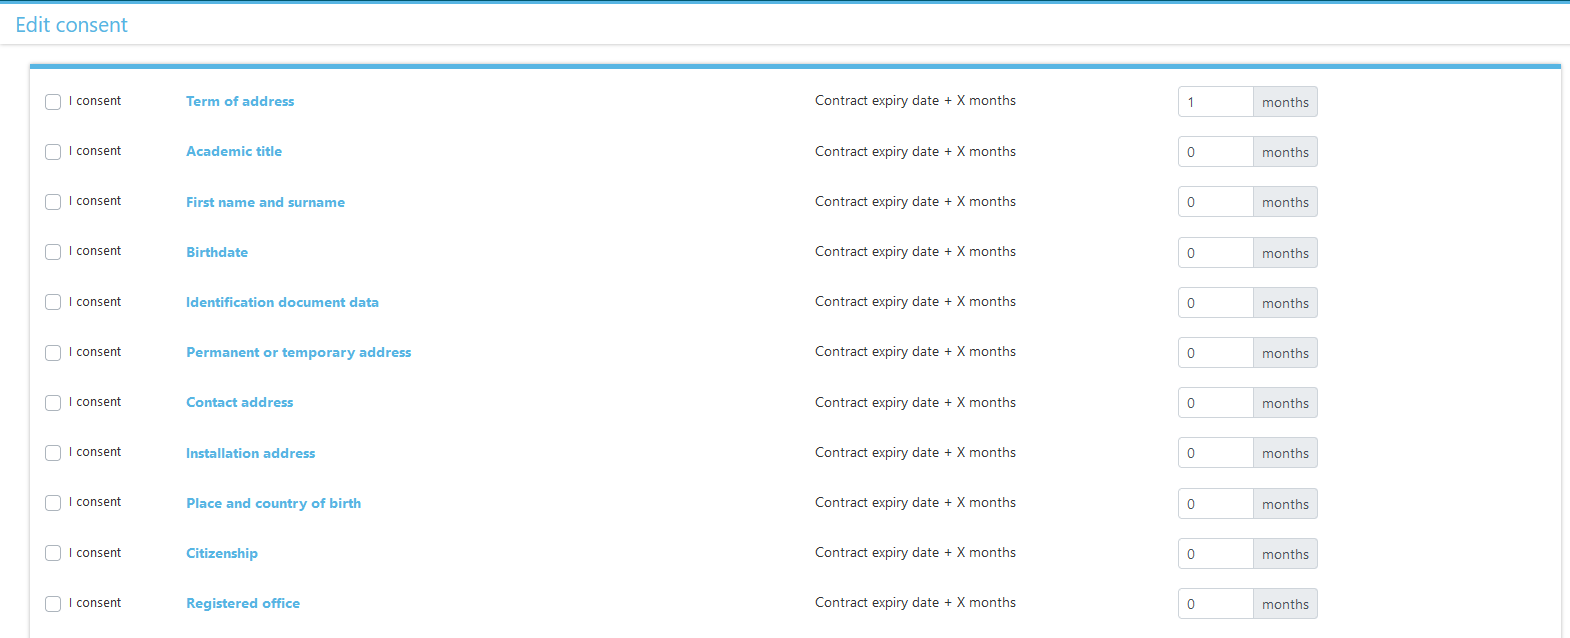
GDPR
List of GDPR consent documents.
Custom buttons
If you want to add your own buttons to the Client portal menu (link to your website or any other link), you can set them up in Settings -> Syst. settings -> Client portal -> Custom buttons.

Settings
The Client portal can be customized to suit your needs.
Appearance
Custom image during system upgrade
It is possible to upload your own image (for example: your company logo) to be displayed to clients when they are trying to access the Client portal during system upgrade.
The image (.png format) with the name maintenance_logo.png must be uploaded here: /data/support/ispadmin/clientInterface/maintenance_logo.png
If you want any text to appear in this situation, the text must be part of the image file.
Recommended image size: 400×300 pixels.
Editable template that you use to create your own logo: https://www.photopea.com/#iviCYZQ1C
Predefined color themes
The Client portal can use one of the 4 predefined color themes.
- Basic (red) = default
- Orange = orange
- Blue = blue
- Green = green
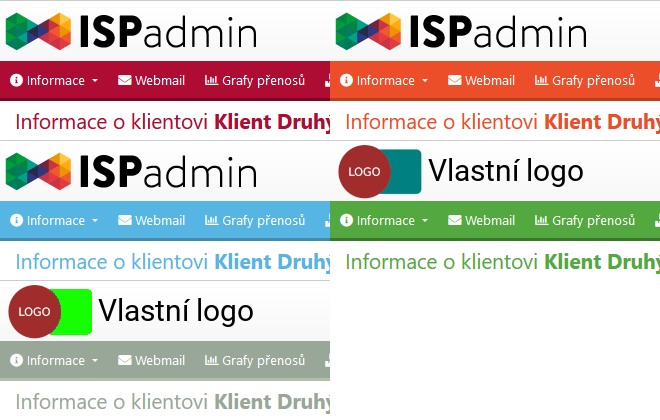
You can choose one of the themes in the ci_skin_theme setting in Settings -> Syst. settings -> Client portal -> General.
Custom color theme (logo)
It is also possible to create your own color theme and upload your custom logo to the header.
To create your own color theme, you need to copy the default folder from /data/support/ispadmin/clientInterface/templates/ and rename it (for example: company).
Important: If you want to use your own logo or theme based on the default template (folder default), it is necessary to duplicate this folder and rename it (for example: company). Then, you can upload your company logo and custom CSS to the folder.
The name of the new folder must be specified in the ci_skin_theme setting in Settings -> Syst. settings -> Client portal -> General.
If you do not duplicate the folder, the contents of the folder (default) will revert to the default state during system upgrade!
Inside the folder, you can find a file named style.css. This file contains CSS that you can edit.
Images for the Client portal (custom company logo) can be found in the /images subfolder (background-page.png = background, logo.png = company logo).
As far as your company logo size is concerned, you can upload an image of any size (recommended image size: 260×60 pixels).
Custom login page
You can use your own Client portal login page (form) instead of the default login page.
It is necessary:
- To create a login form on your website (you can use the ready-made template)
- To enable the ci_login_form_allow_cross_origin setting (Settings -> Syst. settings – > Client portal -> General)
Basic HTML code for the creation of your own form:
<form action="[ISPADMIN]/sign/" method="post" >
    <input type="text" name="username" autocomplete="username">
    <input type="password" name="password" autocomplete="current-password">
    <input type="submit" name="send" id="frm-send" value="Přihlásit">
    <input type="hidden" name="_do" value="signInForm-submit">
</form>
If the correct login credentials are entered and the above-mentioned conditions are met, the client can log into the Client portal from another website.
Another related setting is ci_forward_url_after_logout (Settings -> Syst. settings – > Client portal -> General). You can set up redirection to a particular page after Client portal logout. If the setting is empty, no redirection takes place after logout (the client returns to the default Client portal login form).
Support request or Helpdesk
Support requests can be used by clients to request changes in their service settings or inform system users of any problems.
If you want the support request button (![]() ) to be available to your clients in the Client portal, you need to set the system up. There are also a few other related settings.
) to be available to your clients in the Client portal, you need to set the system up. There are also a few other related settings.
- If the ci_auth_requests_enable setting (Settings -> Syst. settings – > Client portal -> General) is enabled, clients can send support requests from their Client portal.
- It is important for the Scheduling module to be included in your license. Or you can use the ci_auth_requests_forwarding_email setting (Settings -> Syst. settings – > Client portal -> General): If an email address or email addresses (separator: comma or semincolon) are entered in the setting, copies of the support requests are sent to that address or to those addresses.
- Support requests are also sent to the email addreses of those users with the Send tasks via email and Send Client portal requests options enabled (Settings -> Administrators -> Administrators).
- The same users are assigned to the tasks that are automatically created based on the requests.
- If the Helpdesk module is included in your license and if the Use for CP requests option is enabled for a particular department (Helpdesk -> Settings -> Department), the button Send support request (
 ) is replaced with the button
  .
.
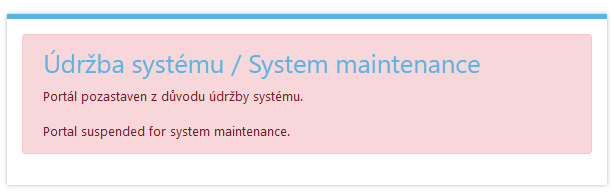
Portal suspension
The Client portal can be suspended (Other -> Tools).
Footer
If you want to display a footer with your company information in the Client portal (data are retrieved from the settings of the invoice group to which the given client belongs), it is necessary to activate the ci_display_supplier_contact setting (Settings -> Syst. settings -> Client portal -> General).
Further settings
Further Client portal-related settings can be found in Settings -> Syst. settings -> Client portal -> General.
Here you can customize the Client portal to suit your needs. For example: the display of the Documents tab, FUP, webmail link, client login method, etc.