Documentation for the mobile application
Description of the mobile application and its functions. Changes in individual versions and information on all modifications and fixes can be found in the CHANGELOG of the mobile application.
Login
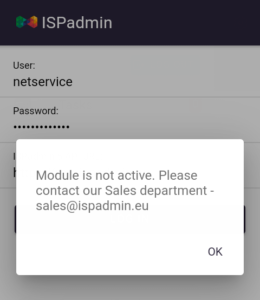
After you open the application for the first time, the login screen will be displayed, where you enter your username, password and ISPadmin system URL (eg https://company.ispadmin.eu).
If you have a domain certificate, do not enter the IP address in the URL. If you do, the system will reject the connection!

If you don’t have active module Task manager (mobile app) in you installation of ISPadmin, an error will appear.
For activate module Task manager please contact sales department sales@ispadmin.eu
Main menu
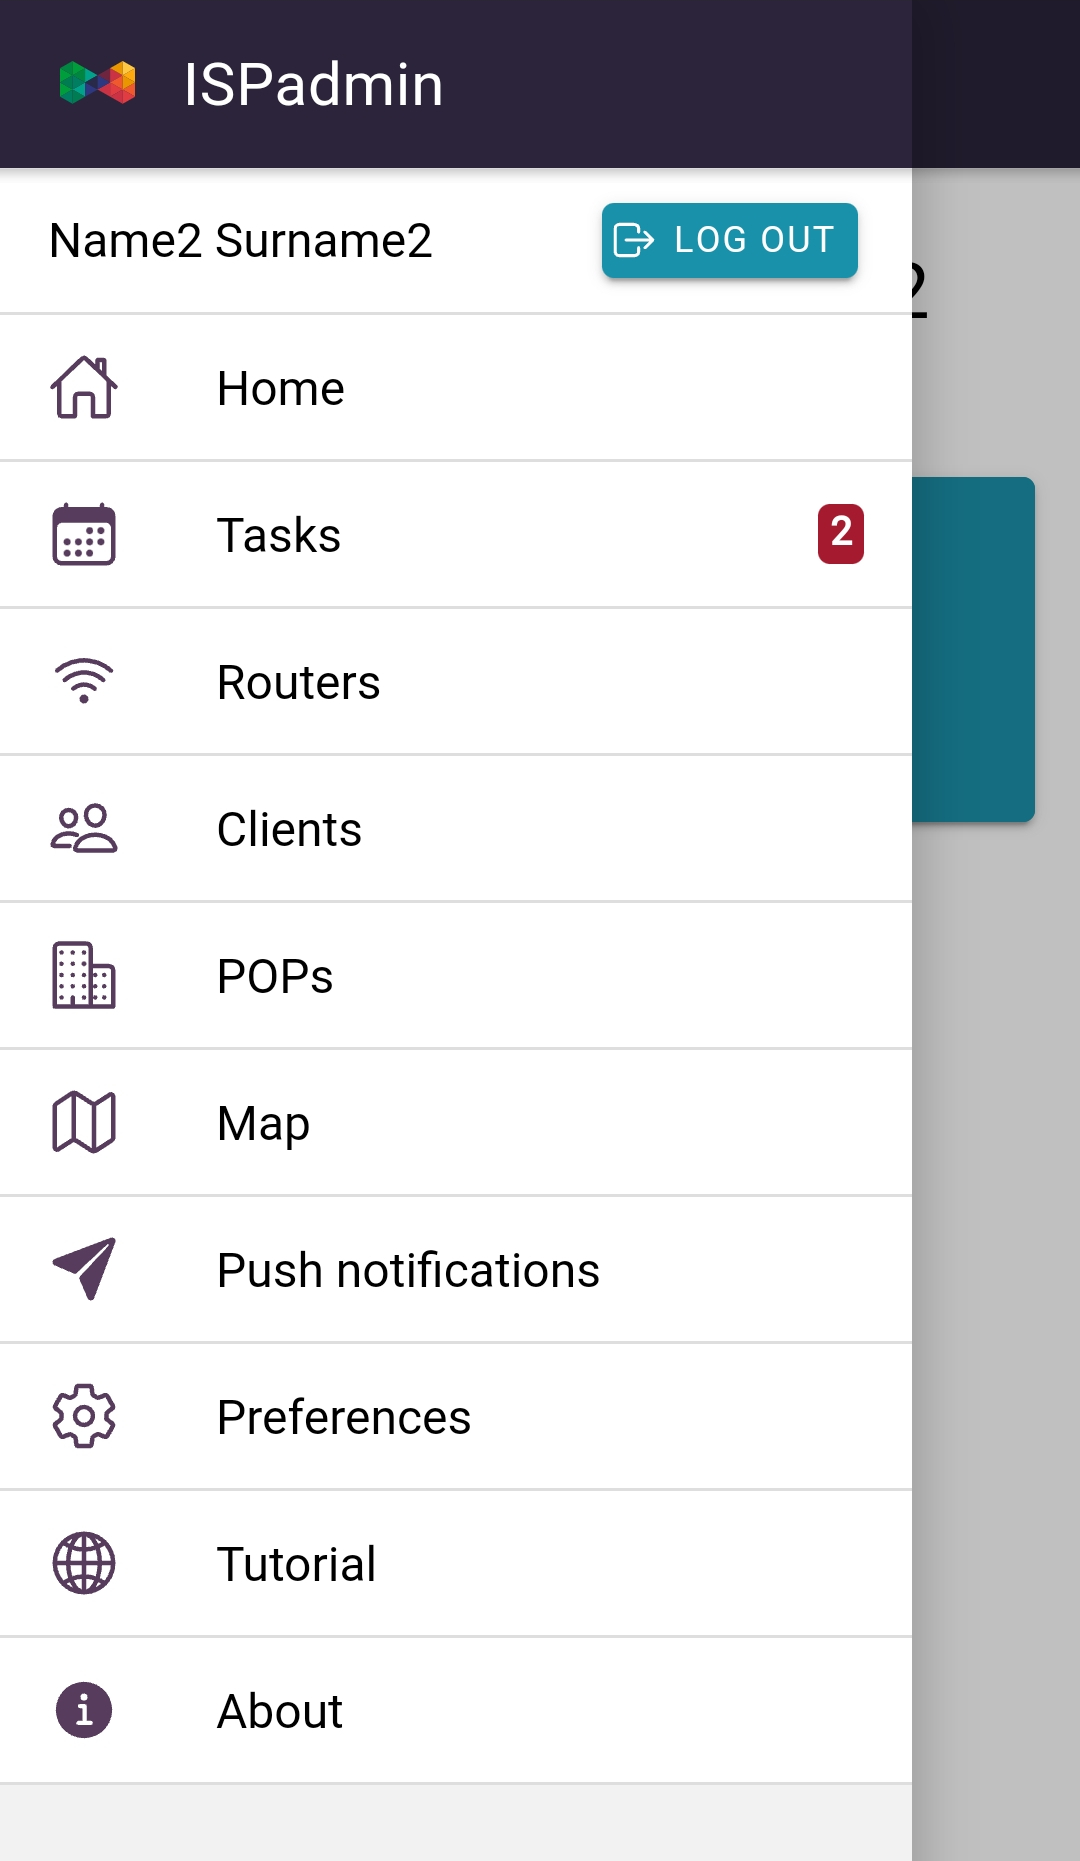
You will find several tabs in the main menu of the application.
- Home
- Tasks
- Routers
- Clients
- POPs
- Map
- Push notifications
- Settings
- Tips for use
- About application
Home
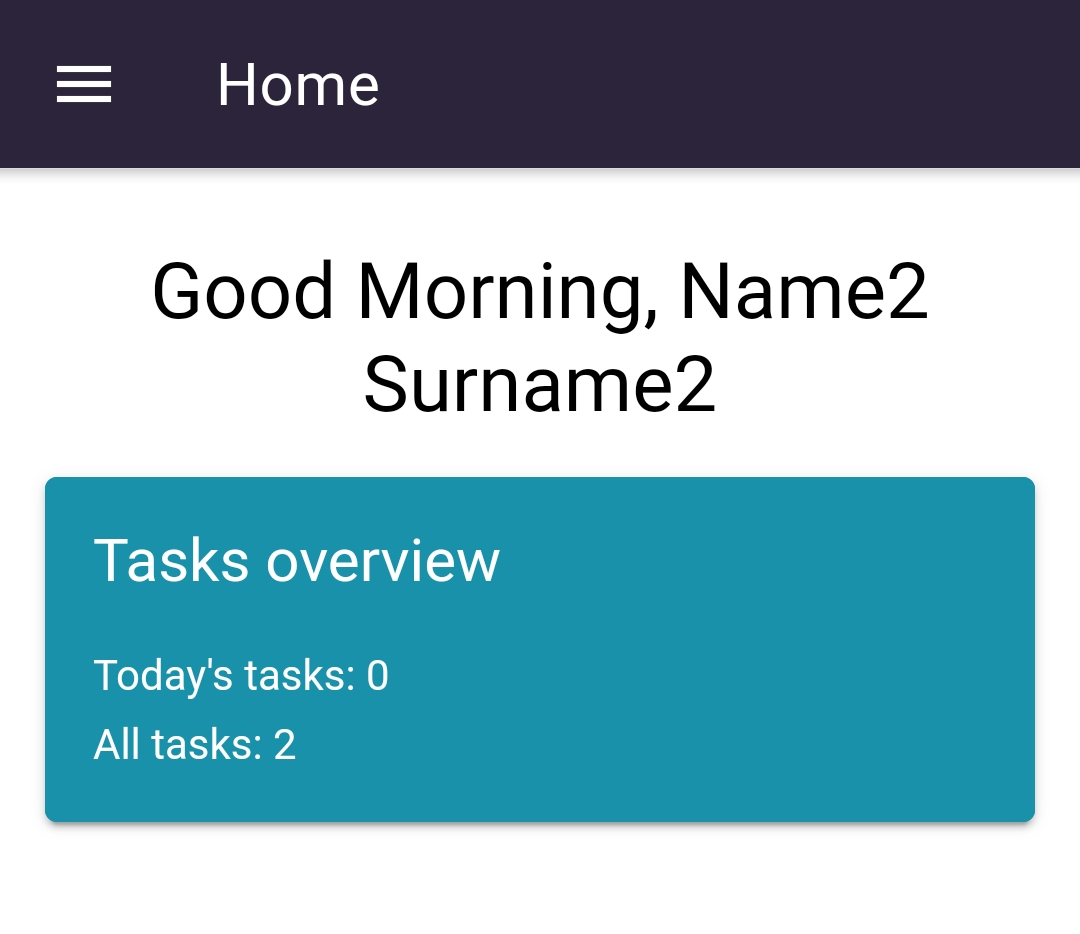
The main page that appears after a successful login and on which an overview of tasks is displayed.
Tasks
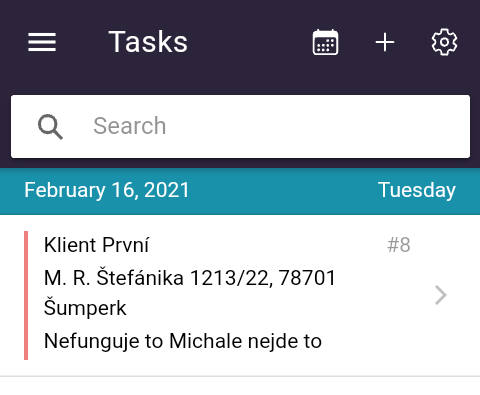
You can see the Tasks tab in the mobile application if you have enabled access to the Scheduling in ISPadmin.
In the Tasks tab, you will find the tasks that you have been assigned to. Each task has a time, a unique task ID, and a short description. After hitting a task, the detail of the task (technicalities) will be displayed. You can edit tasks in detail or add their solutions. You can also add new tasks. You will also receive information about new tasks or changes in tasks via push notifications.
Calendar
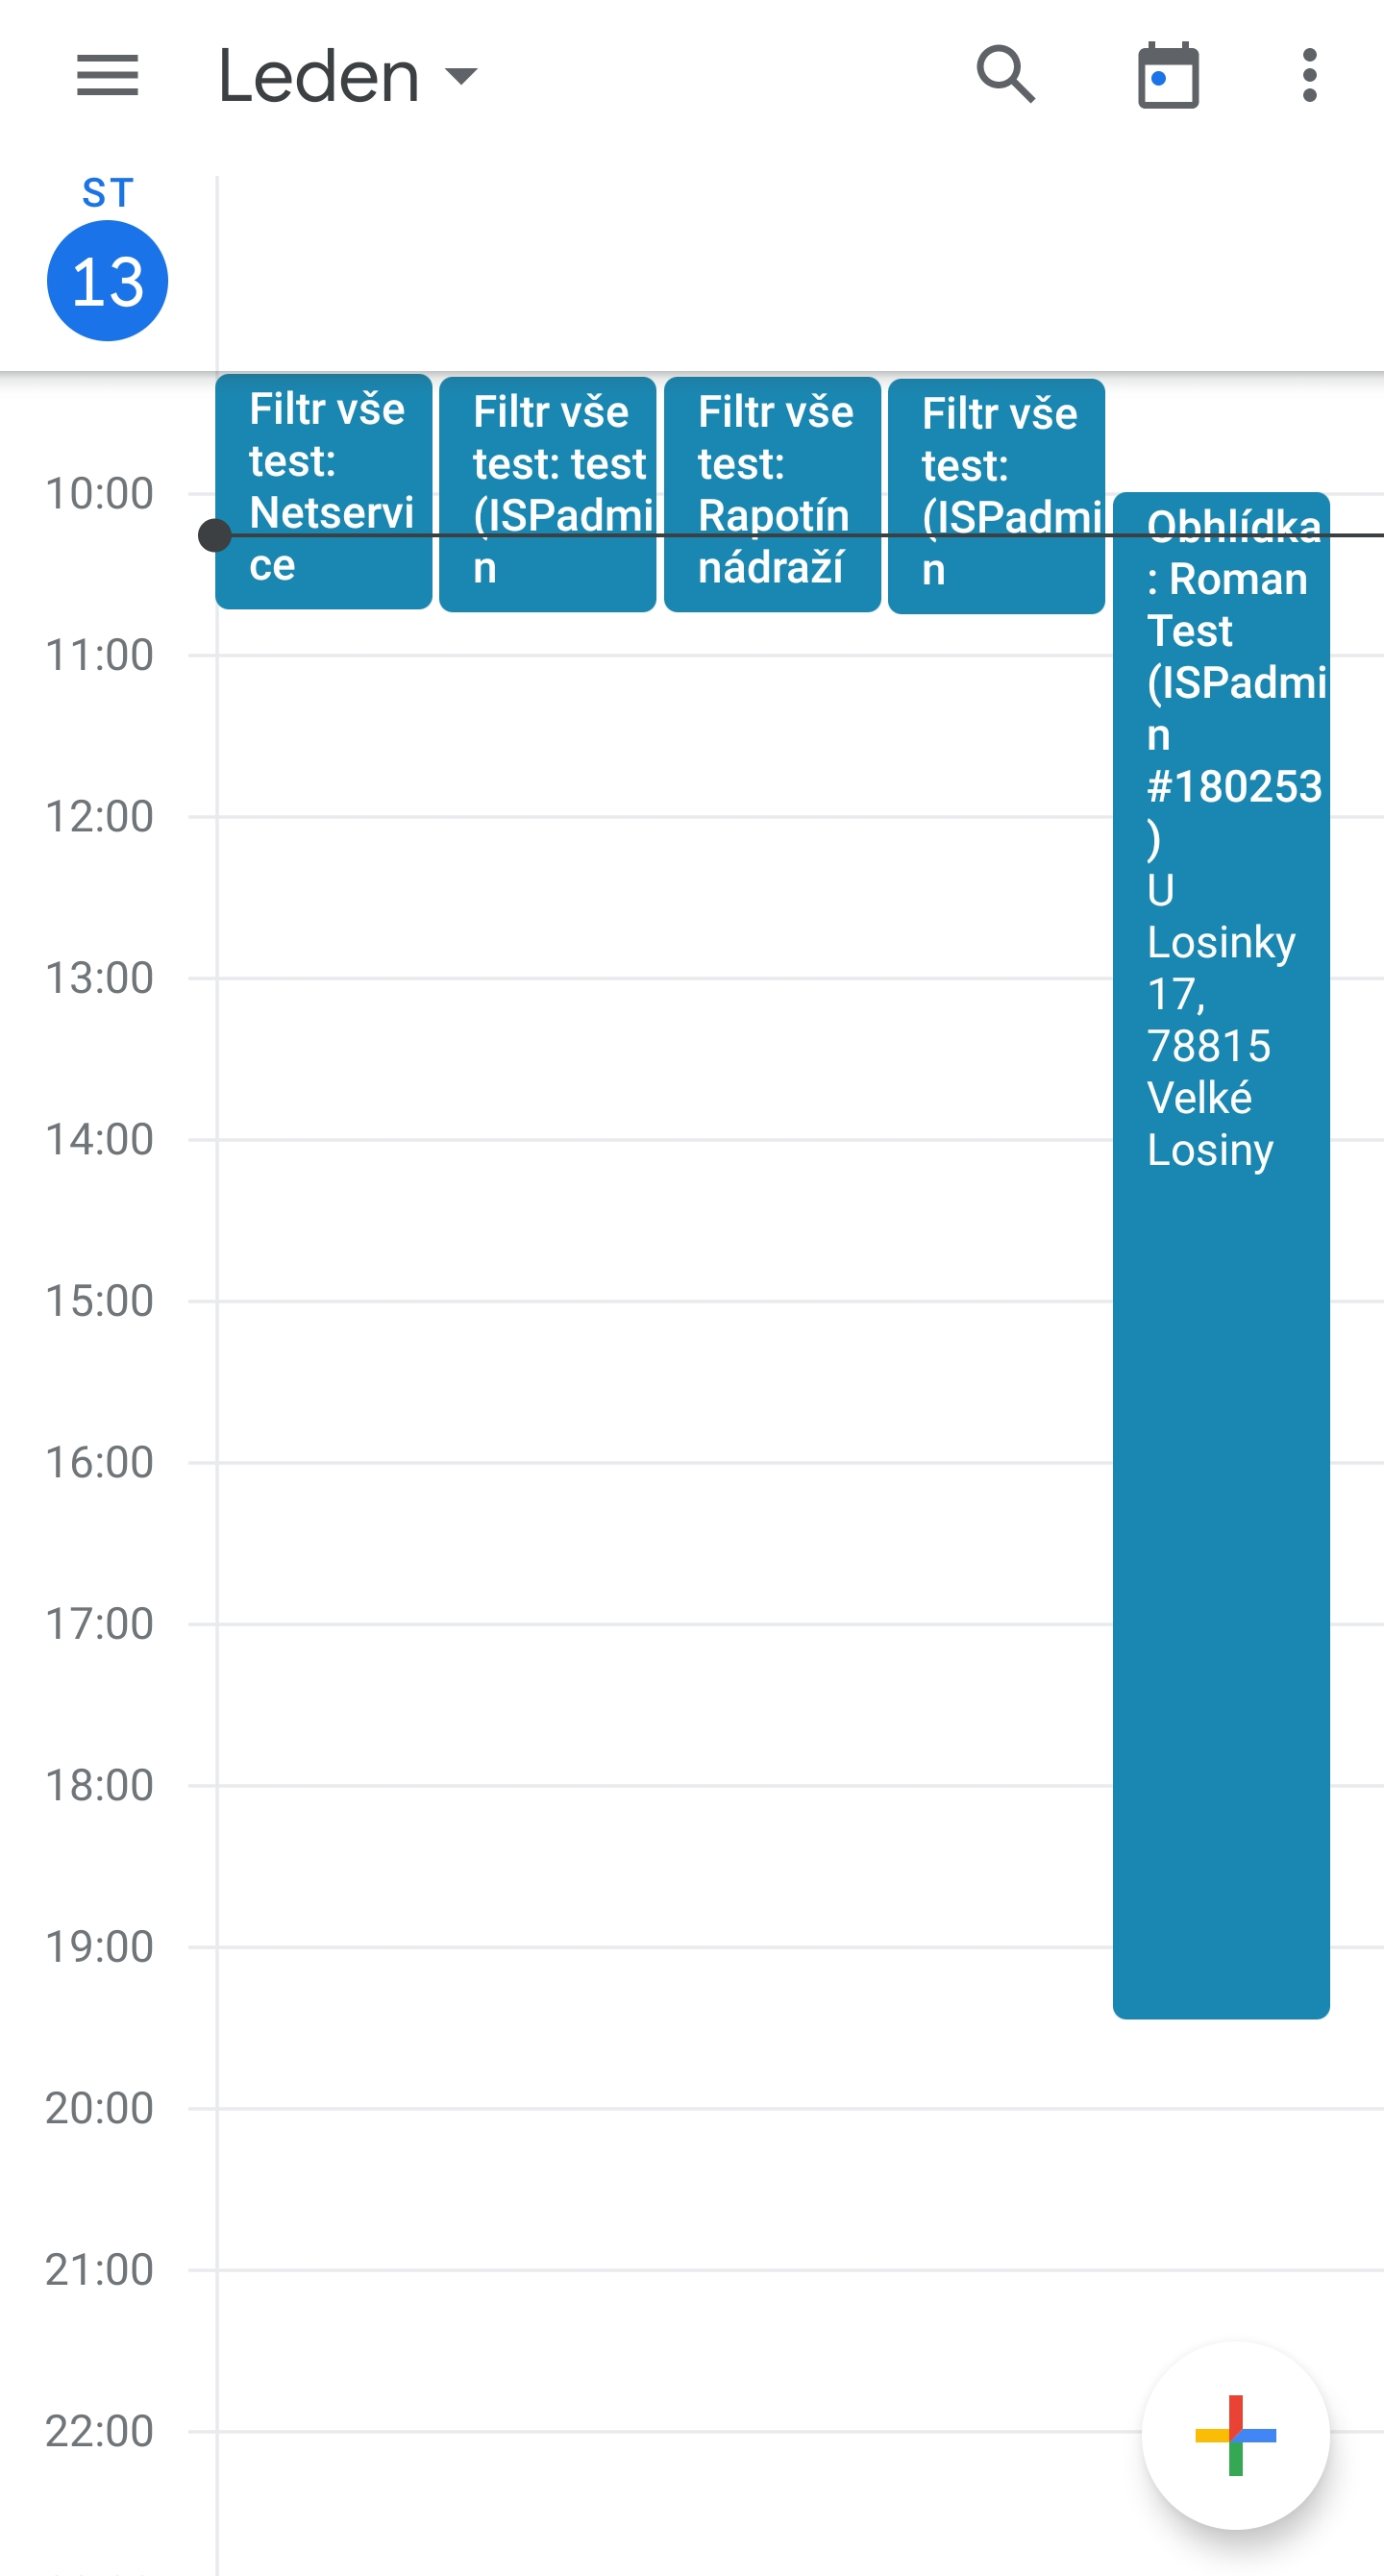
The button ![]() in the upper right corner can be used to display the calendar. If you have set up calendaring on your device in the main settings of the application, you will see tasks in the calendar.
in the upper right corner can be used to display the calendar. If you have set up calendaring on your device in the main settings of the application, you will see tasks in the calendar.
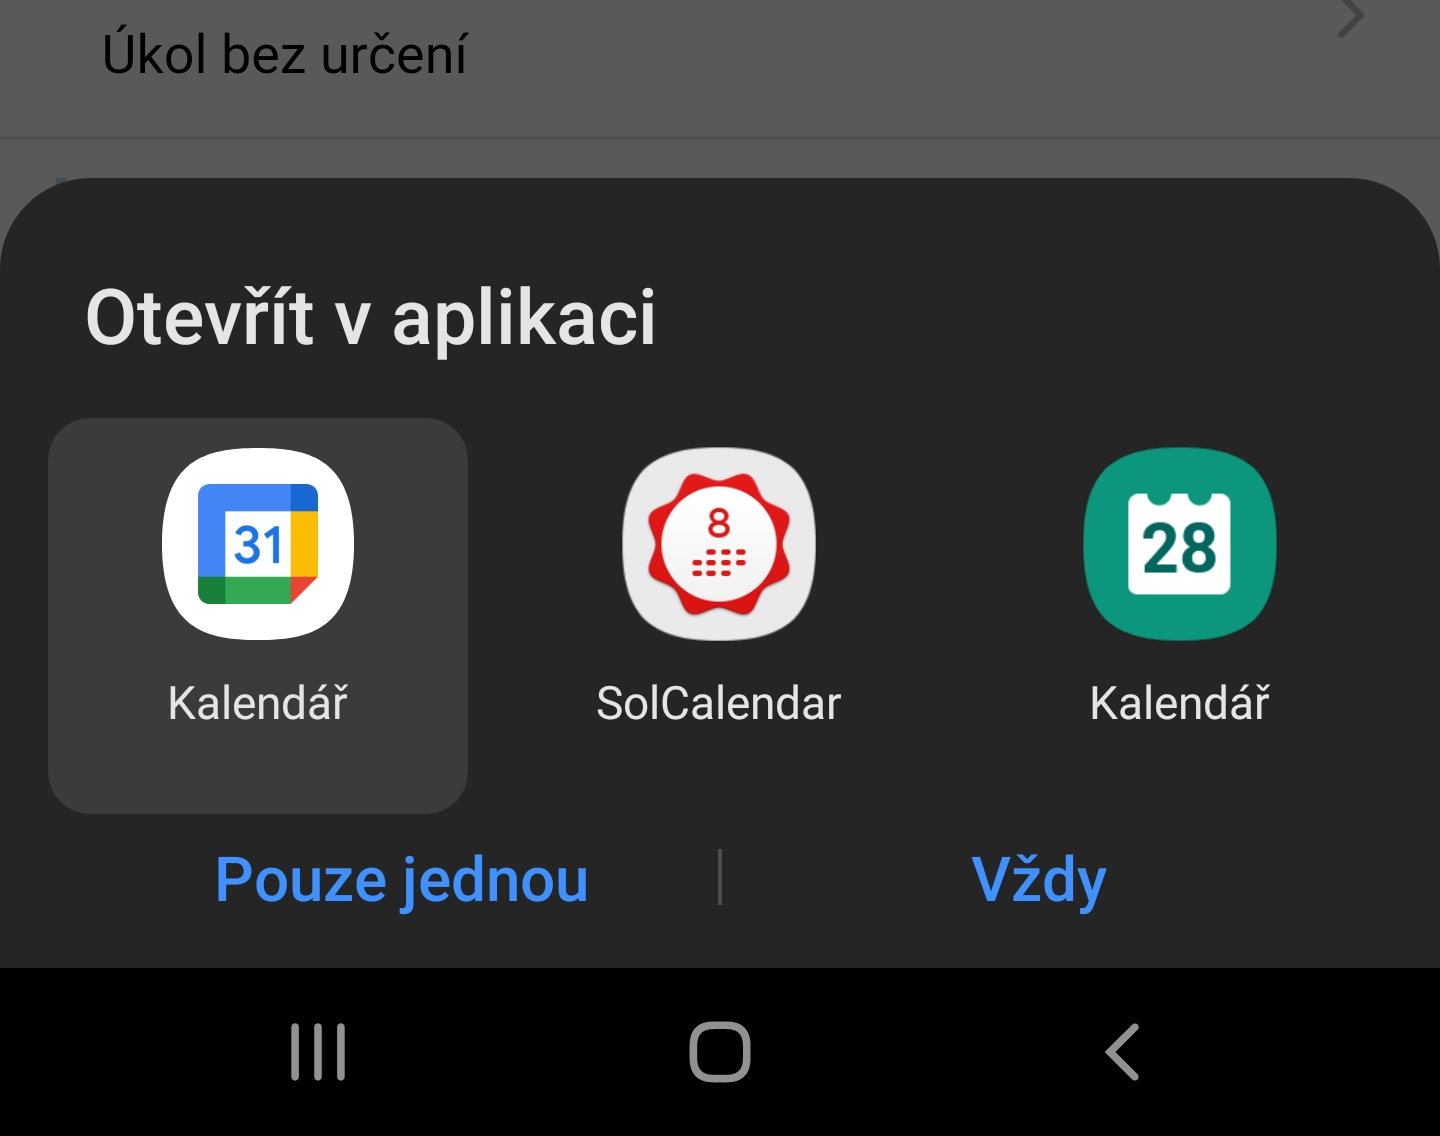
Showing tasks saved in the device’s calendar management in the application (pictured below, the device’s calendar in Google Calendar).
Adding a new task
Next to the calendar button is a button ![]() for adding a new task.
for adding a new task.
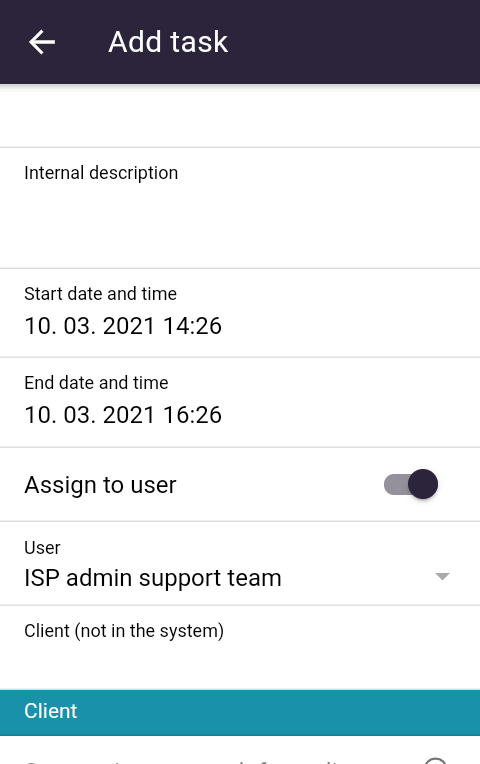
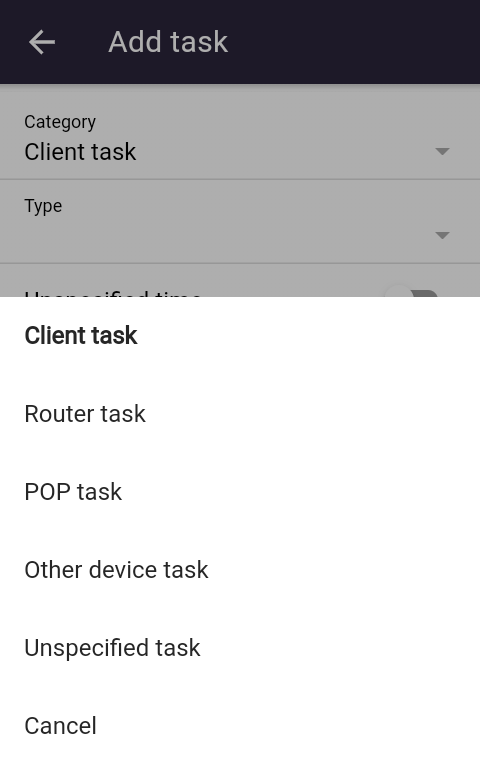
You can choose from several task categories – client´s, on the router, on the POP, on another device, without specification. These tasks are also accessible (by categories) for individual clients, routers, POPs or other devices. Selection of task categories.
According to the selected category, it is necessary to assign a client, router, POP or other device. Task type, description, client / device / POP are required.
The task is saved by hitting the ADD TASK button at the bottom of the application.
Tasks settings
The last button in the task list is the task setting button ![]() .
.
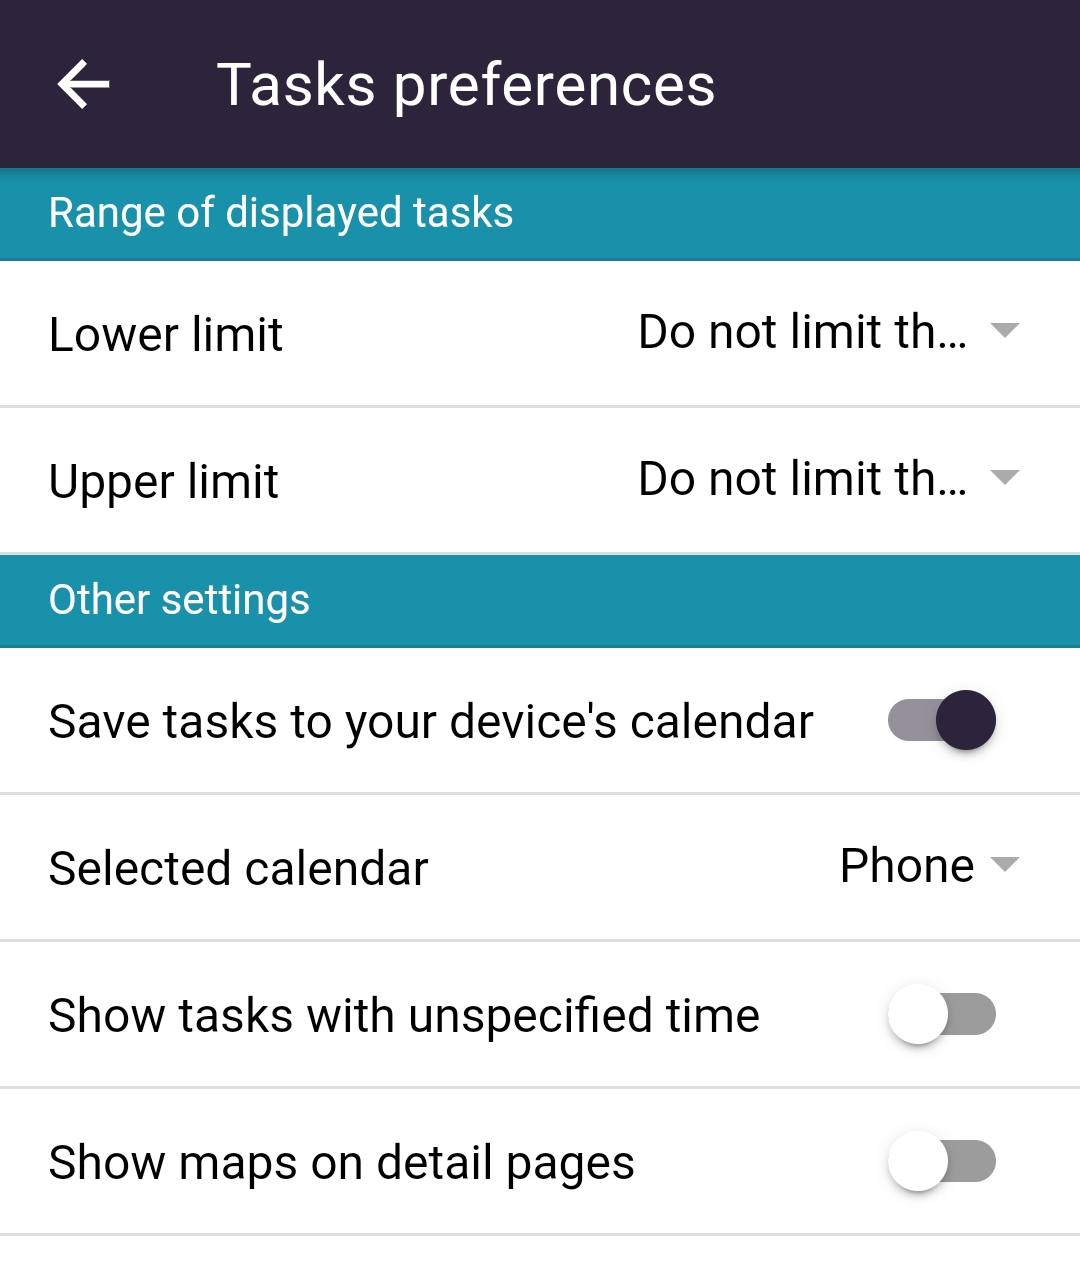
- possibility to set time limit of displayed tasks (from – to)
- possibility to save tasks to the calendar + select a specific calendar into which the tasks will be copied
- possibility to display tasks with unspecified time
- possibility to display the map on the task details tab
Task detail
After clicking on the task selected, its detail will be displayed.
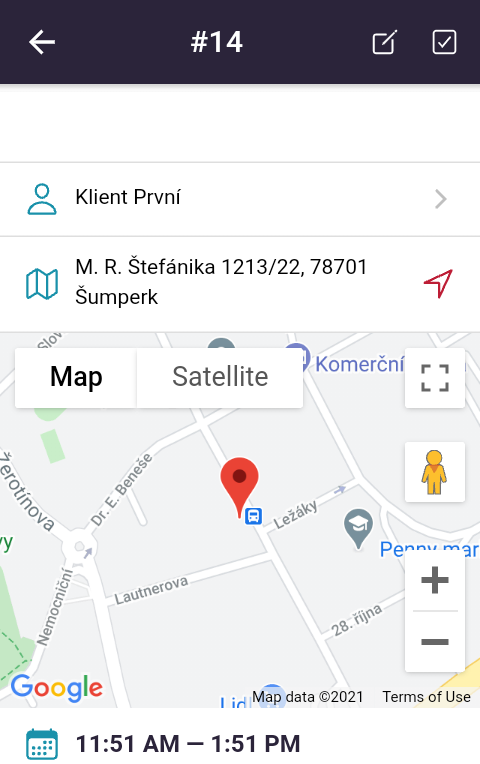
More information can be seen in the task detail (type of the task – client, on the router, on POP, on other devices, without specification). With the possibility of clicking on the entities connected (POP, router, client).
If the address is specified, it is possible open the address in external map or navigation application (Mapy.cz, Google maps and others).

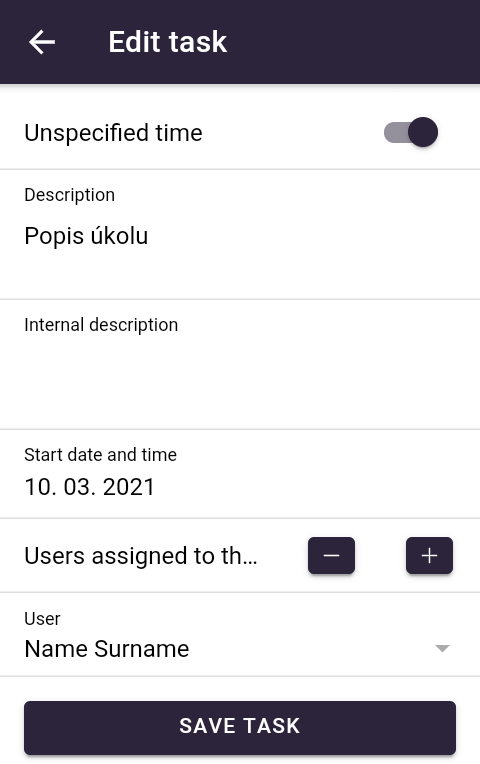
Task editing
After hitting the icon ![]() in the upper right corner, the selected task can be edited. Is possible edit description (internal description), start and end of task and is also possible to assign or change users for a task.
in the upper right corner, the selected task can be edited. Is possible edit description (internal description), start and end of task and is also possible to assign or change users for a task.
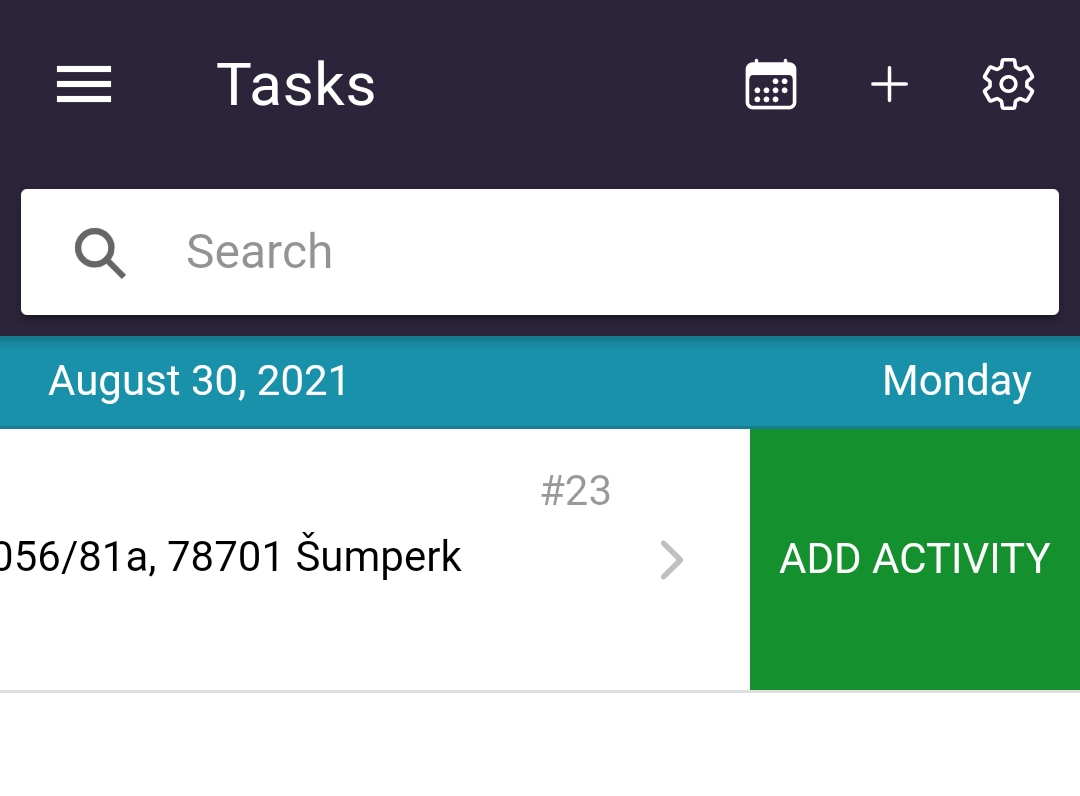
Adding a task solution
After hitting the icon ![]() , it is possible to add a solution to a task selected. The date of the task completion and description are required. Other values are optional.
, it is possible to add a solution to a task selected. The date of the task completion and description are required. Other values are optional.

It’s possible add solution directly in list of assigned tasks. Swipe chosen task to the left to display a green button – Add activity.
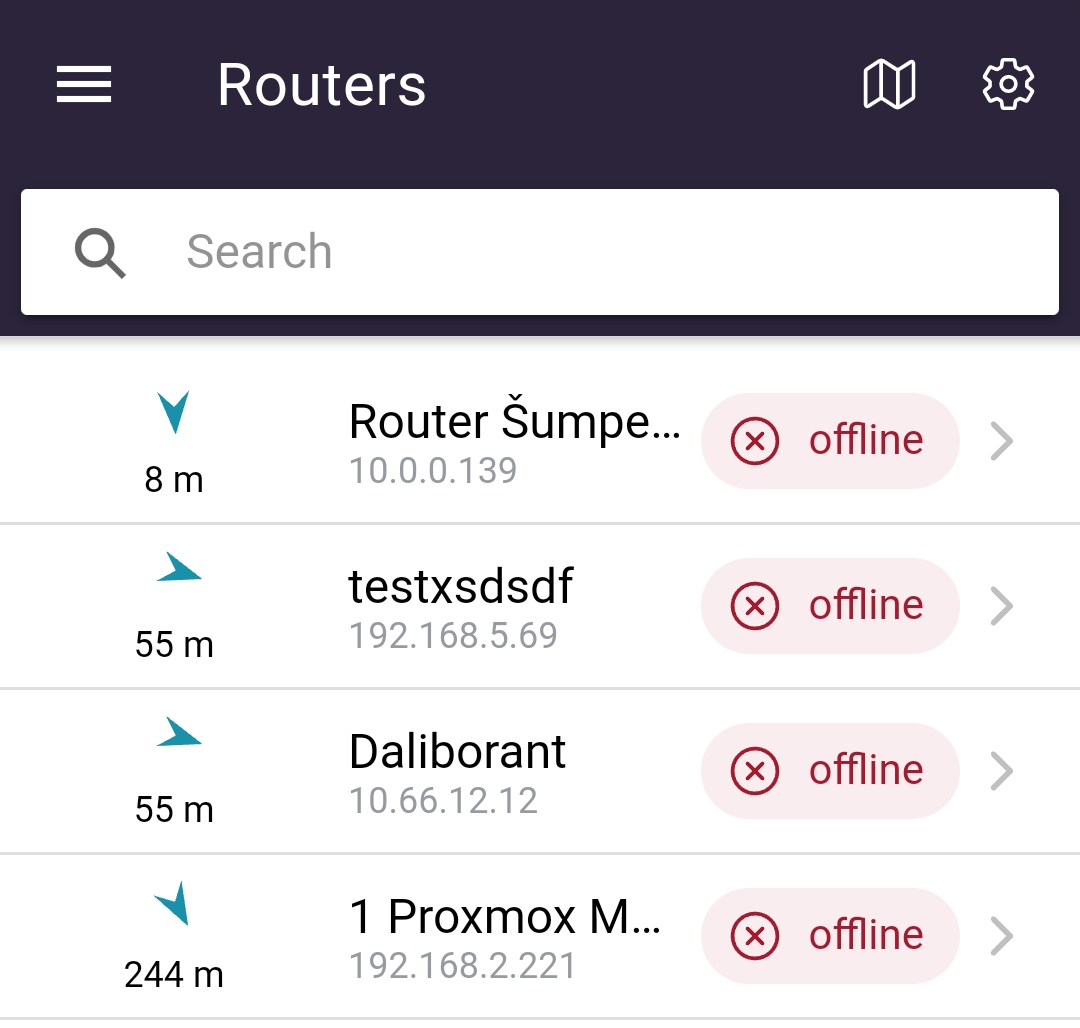
Routers
You can see the Routers tab in the mobile application if you have enabled access to the Routers tab in ISPadmin.
If you have this permission, the system will show you routers within a radius of 30 kilometers by default (range / radius can be changed in the settings).
In order for the routers to be displayed, it is necessary to have the position switched on in the mobile device and the coordinates entered for the routers. Click on the router to view its detail. There you will find the information about the distance to the router, its status, its IP address. It is also possible to test the connection with the router or insert a photo into the gallery.
Routers are sorted by distance and alphabetically. The direction arrow and the distance to the router are displayed.
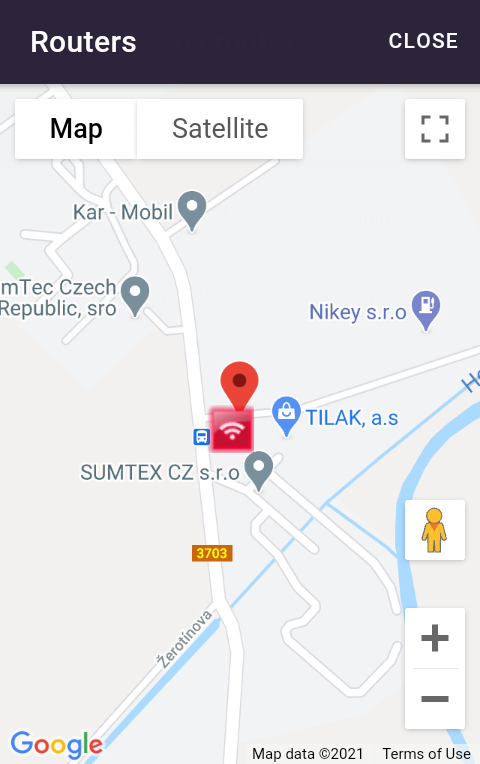
Map view
By hitting the button ![]() in the upper right corner of the tab – Routers, it is possible to display the map with routers. In the upper right corner of this map, it is possible to close this map with routers by clicking the CLOSE button.
in the upper right corner of the tab – Routers, it is possible to display the map with routers. In the upper right corner of this map, it is possible to close this map with routers by clicking the CLOSE button.
Router display settings
By hitting the button ![]() in the upper right corner of the Routers tab, it is possible to set router view preferences.
in the upper right corner of the Routers tab, it is possible to set router view preferences.
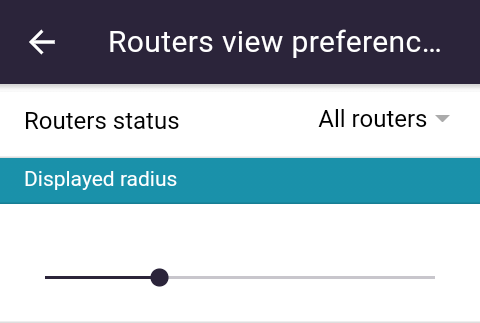
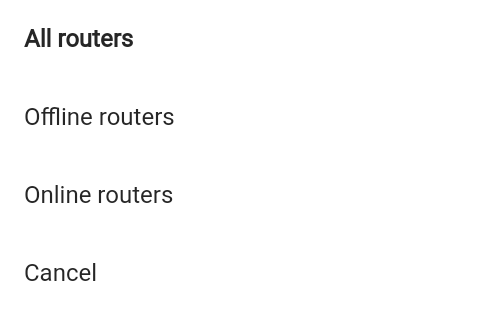
Is possible filter router by status (all, online, offline).
Set the display radius (in km) of the router (according to GPS position).
Router detail
There is basic information (your distance from the router, direction, GPS coordinates, description, the possibility to test the connection to the router and the possibility to add photos to the router) in the detail of the selected router.

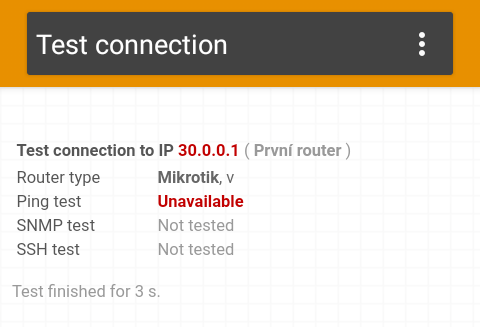
Connection test
Click Open connection test to test the connection to the router.
Photos
You can add photos to the router by clicking on ![]() .
.
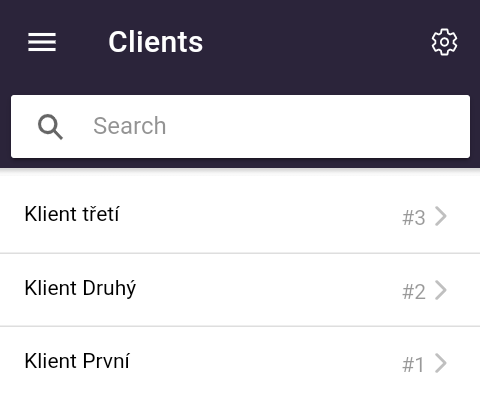
Clients
You can see the Clients tab if you have access to the Clients tab in the ISPadmin system. This tab contains a list of clients from allowed invoicing groups. You can search the client list by clicking and typing a string (text) into the Search box.
It’s searched according to all client fields (same as in the standard ISPadmin interface). The results are sorted alphabetically. Click on the client to get to the client detail.
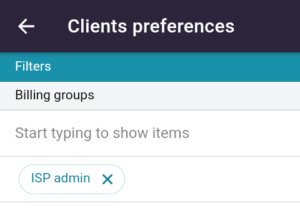
Client settings
Clients can be filtered based on invoicing groups. After clicking on the button ![]() in the upper right corner of the Clients tab, it’s possible to set billing groups according to which clients will be filtered in the list of clients.
in the upper right corner of the Clients tab, it’s possible to set billing groups according to which clients will be filtered in the list of clients.
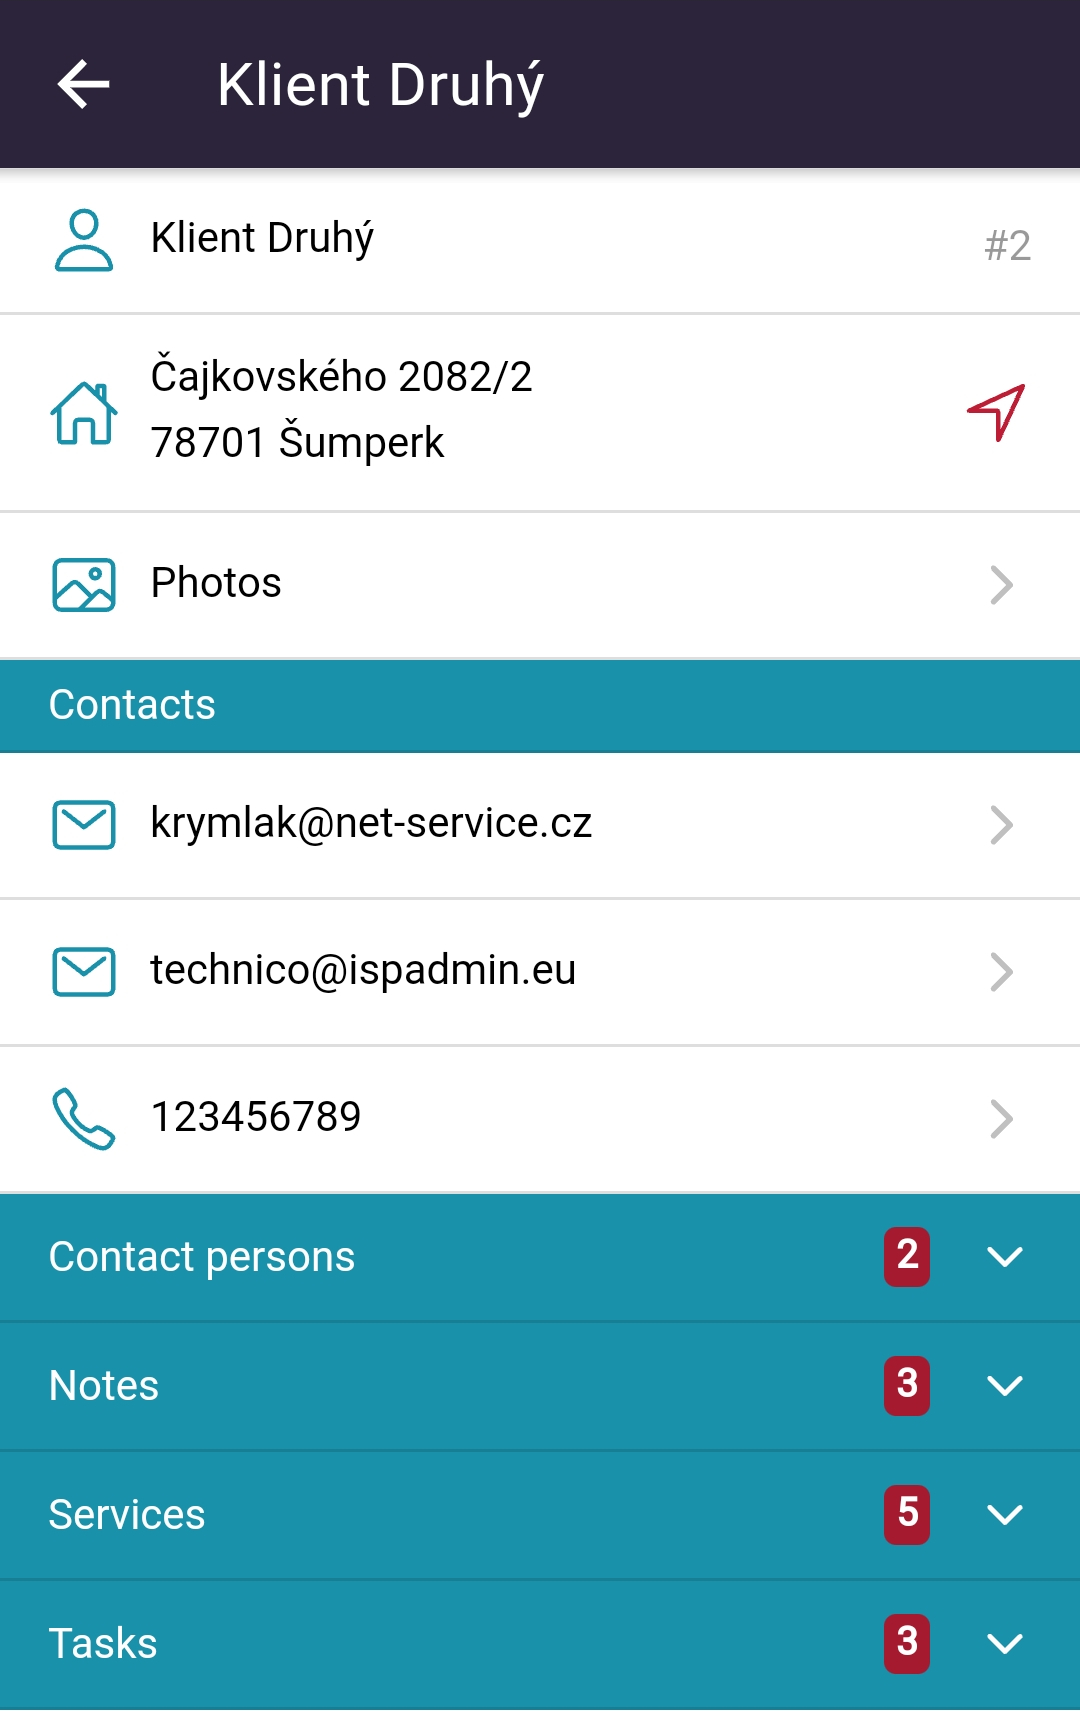
Client detail
The client detail shows the client’s name, address, photos, contact information, any notes added, active services and tasks assigned to the client.
Photos
It is possible to add photos to the client by clicking on ![]() .
.
Services
Click on a service to get to the detail of that service. If the client end device has an IP address, this device can be PINGed (Open connection test).
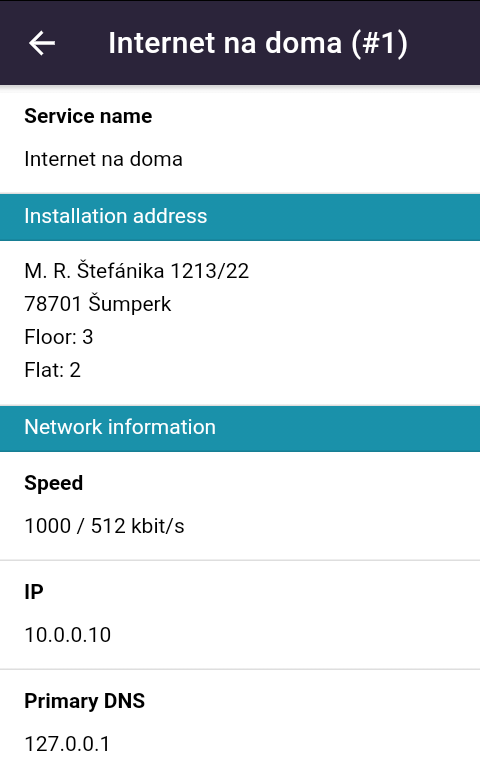
The login details are displayed in the detail of PPPoE and Radius services.

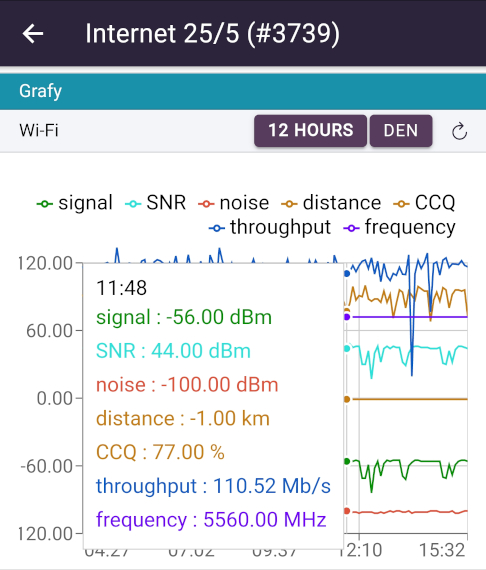
For internet services graphs are displayed (for last 12 hours or for day).
Tasks
Click on a task to get to the task detail. The tasks that are displayed at a client (assigned to the client) can be created in tasks.
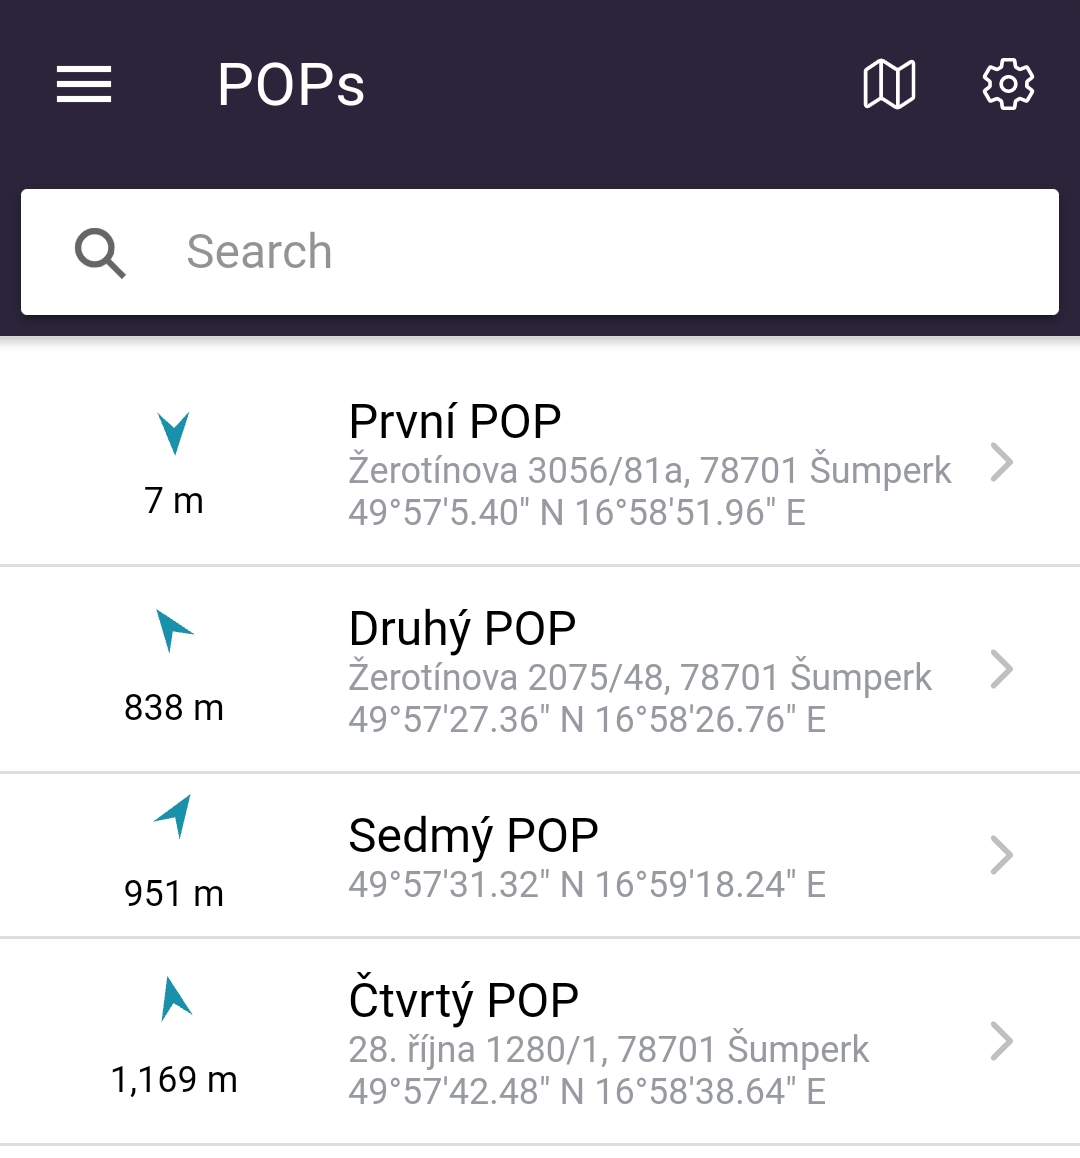
POPs
In this tab you can see the POPs created from ISPadmin.
The default sort is by distance and then alphabetically (search).
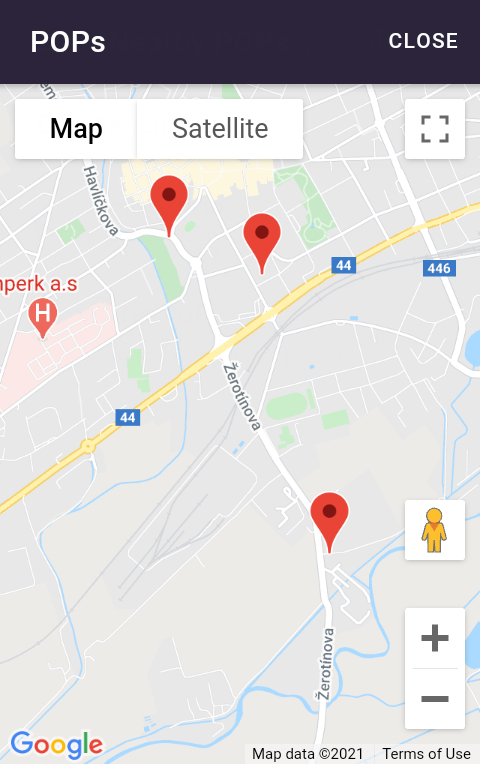
Map view
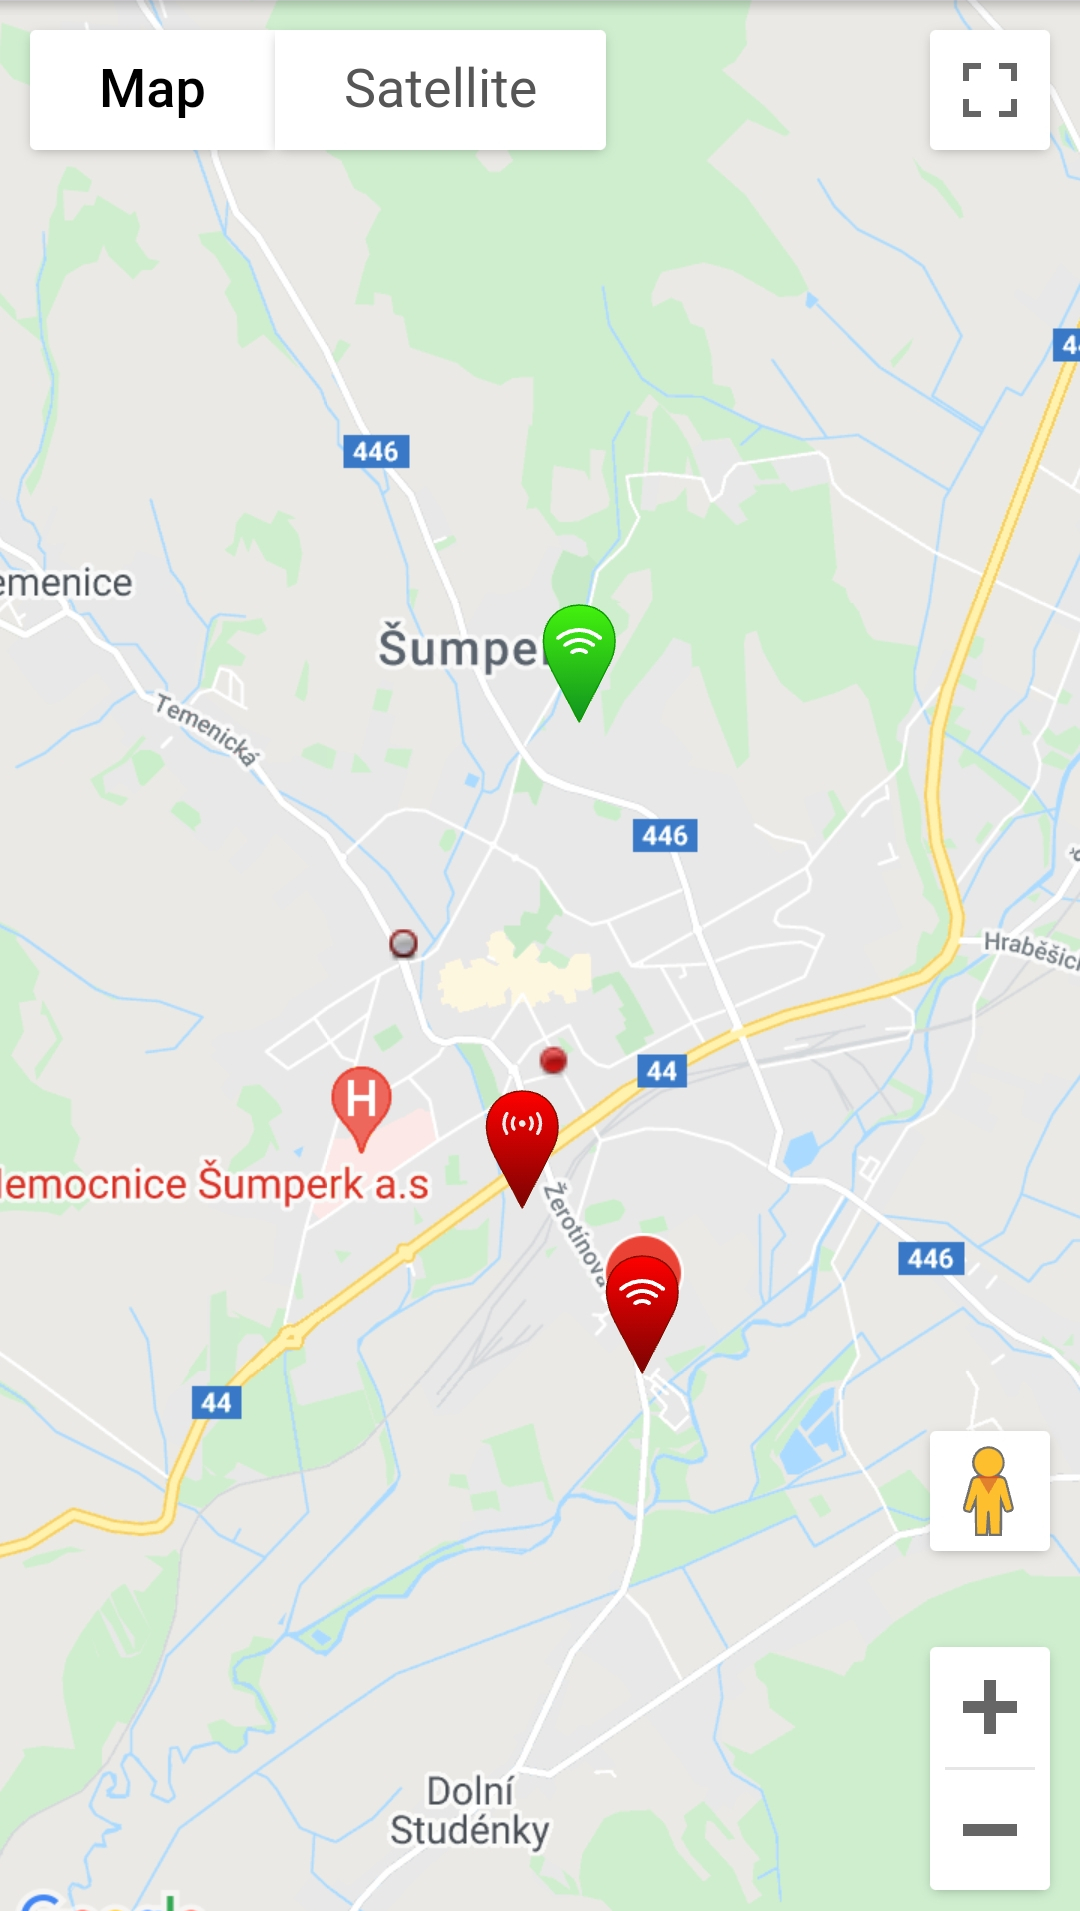
By hitting the button ![]() in the upper right corner of the tab – POPs, it is possible to display the map with POPs. In the upper right corner of this map, it’s possible to close this map with POPs by pressing the CLOSE button.
in the upper right corner of the tab – POPs, it is possible to display the map with POPs. In the upper right corner of this map, it’s possible to close this map with POPs by pressing the CLOSE button.
POPs display settings
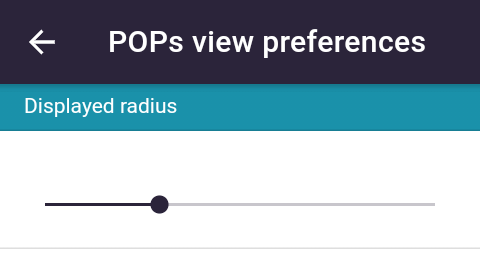
By hitting the button ![]() in the upper right corner of the POPs tab, it is possible to set the radius (in km) of the POPs display.
in the upper right corner of the POPs tab, it is possible to set the radius (in km) of the POPs display.
POP detail
Hit POP to get to the POP detail, which shows the distance from your position, address, description, assigned tasks (by clicking on them) or you can upload / view photos.

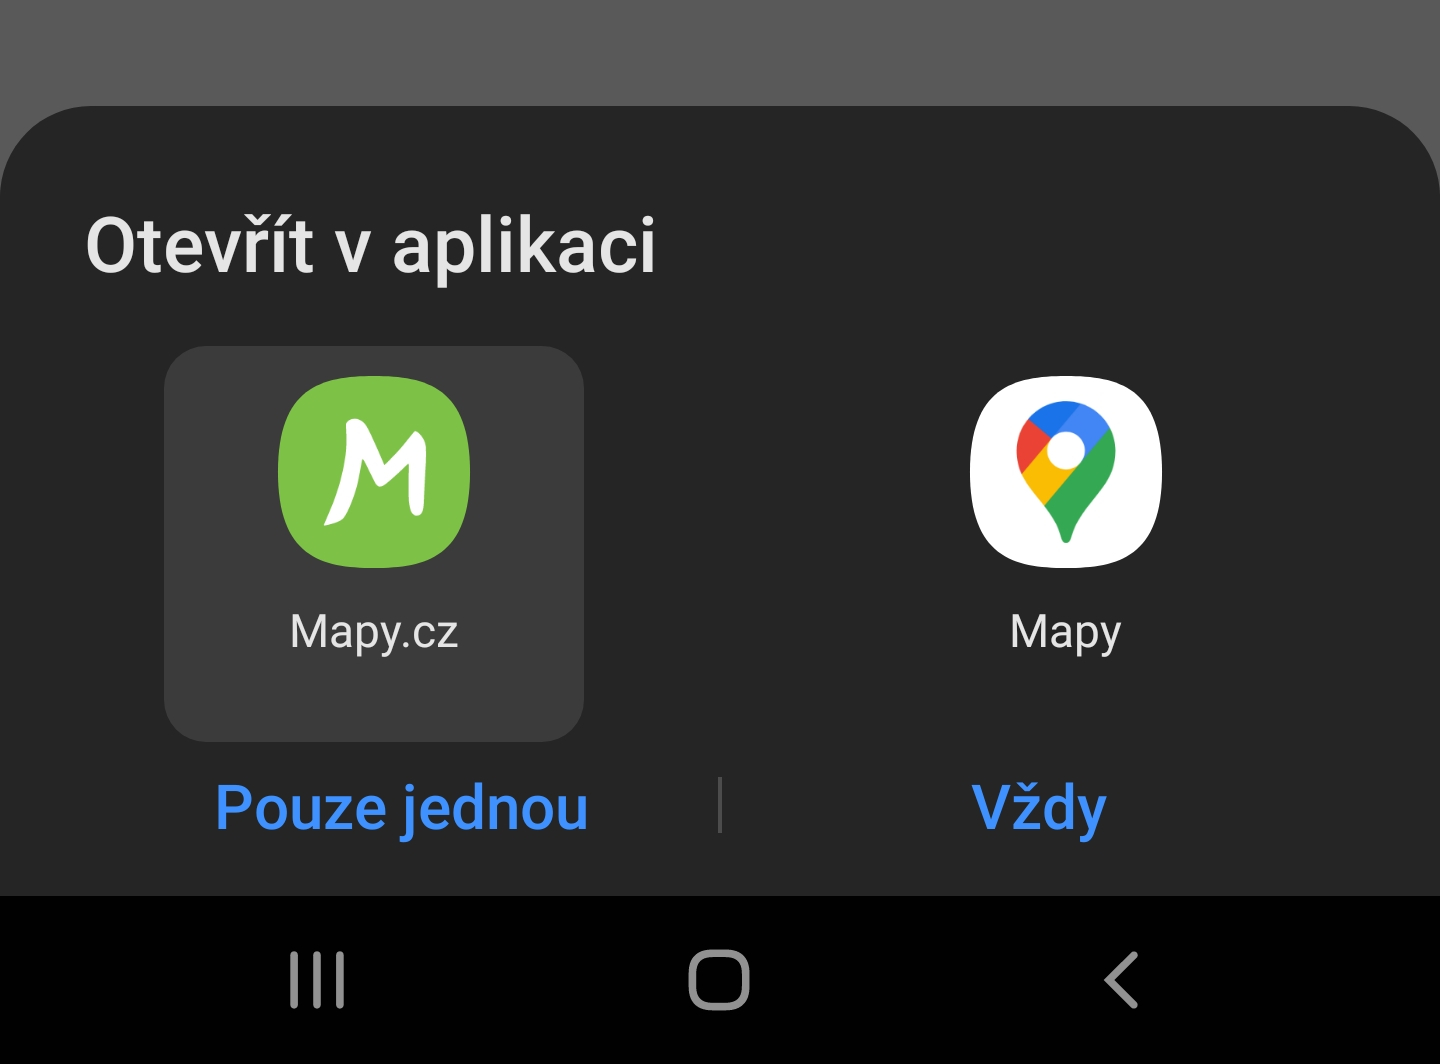
After pressing the address, it can be opened in an external application for working with the map or navigation (Mapy.cz, Google maps and more).
Photos
You can add photos to POP by hitting ![]() .
.
Tasks
Hit a task to get to the task detail. Tasks that appear with POP (assigned to POP) can be created in tasks.
Map
You can see different layers (filters) in the Map tab. By default, the map is blank. Various filters or layers can be turned on in the settings. The map can also be centered on your location.
Map settings
Settings are possible by hitting the icon ![]() in the upper right corner. On the map In the map you can enable / disable the layers you want to see (clients, routers, devices, headends, switches) or display filters (lines to backbone routers, lines to clients, signal area, online / offline devices, monitored clients, planned antennas).
in the upper right corner. On the map In the map you can enable / disable the layers you want to see (clients, routers, devices, headends, switches) or display filters (lines to backbone routers, lines to clients, signal area, online / offline devices, monitored clients, planned antennas).

Positioning
You can center the map on your location by clicking on the icon ![]() in the upper right corner.
in the upper right corner.
Push notifications
The Push notifications tab displays notifications that inform you about the tasks created / edited and about problems from Nagios (if it is set). This is an overview of all notifications that you have also swiped (swipe your finger across the screen to hide them from received notifications on your phone / device).

Settings notification from Nagios
Before creating the contact group itself for Push notifications, it is necessary to create a template for these notifications (how the notifications will looks) in (Settings -> Code lists -> Nagios -> Templates).
If you want to receive push notifications from the Nagios system to the mobile application, it is necessary to set up a group of contacts for this type of notifications (Settings -> Code lists -> Nagios -> Contacts).
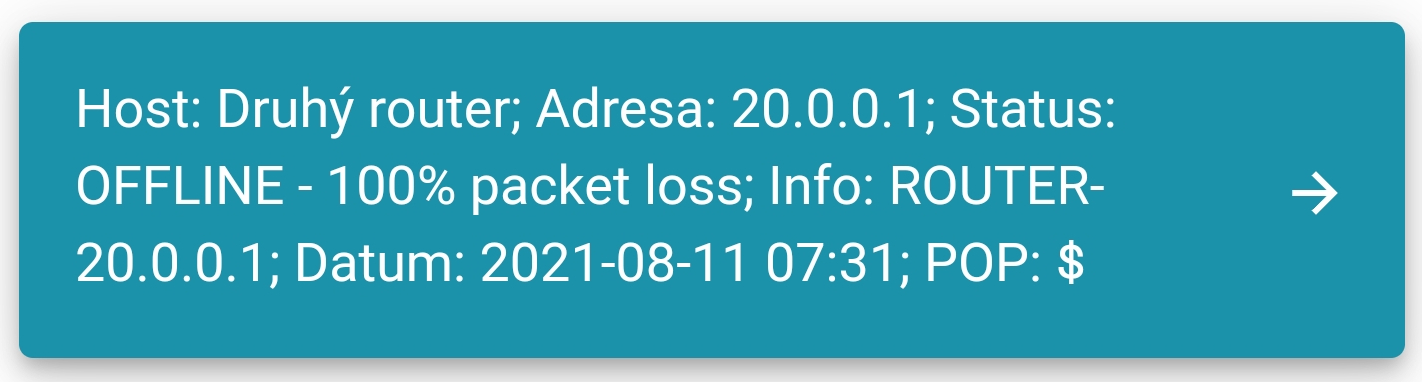
Display notifications (if you do not have the application running directly). These notifications are displayed when you swipe down from the top of the screen. Click on the notification to go directly to the task.
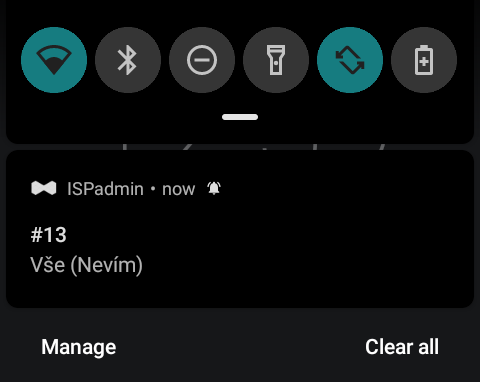
Display notifications (if you work directly with the application). Hit Switch to go directly to this task, hit Close to close this notification.

Settings
In the Settings tab, you can turn on the dark theme of the application, whether tasks should be copied to the calendar in the phone / device, whether photos should be uploaded to the system only in case of Wi-Fi connection and whether a map should be displayed in the task detail. View the map in the task details.
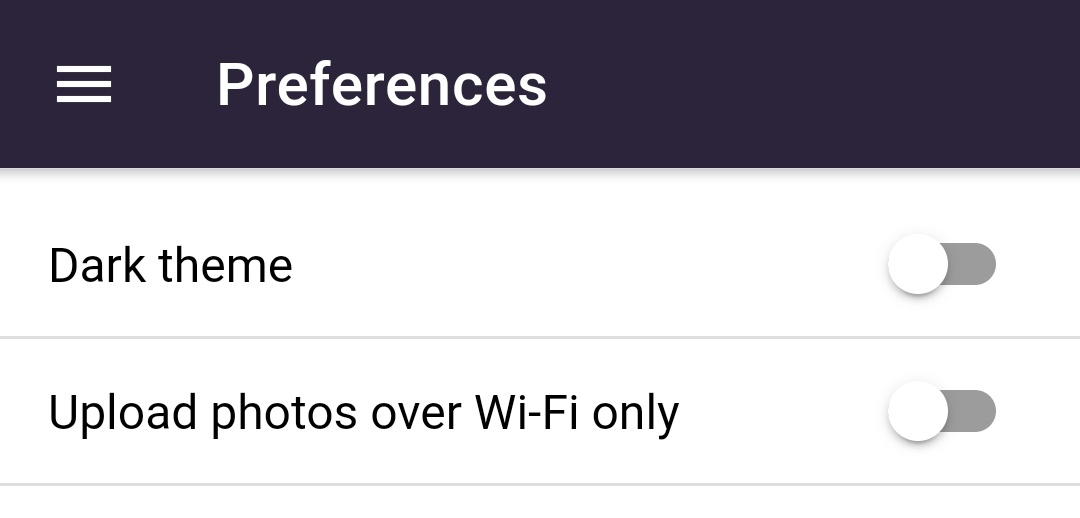
Bright vs. dark application theme


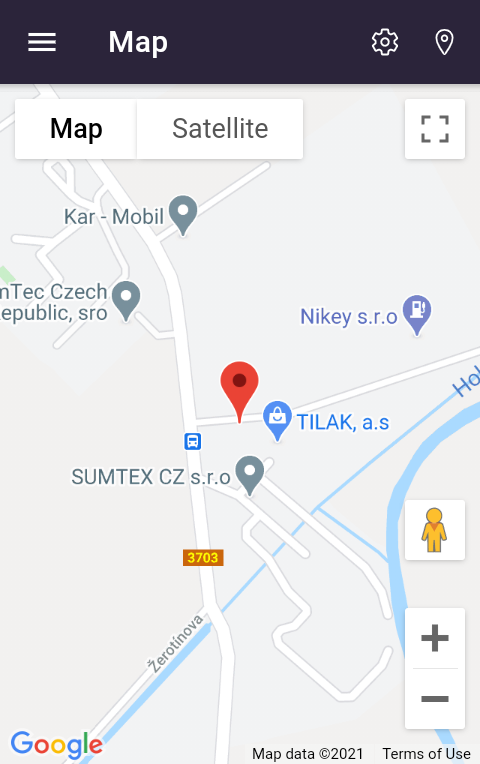
Map image in the task details (according to the application settings).

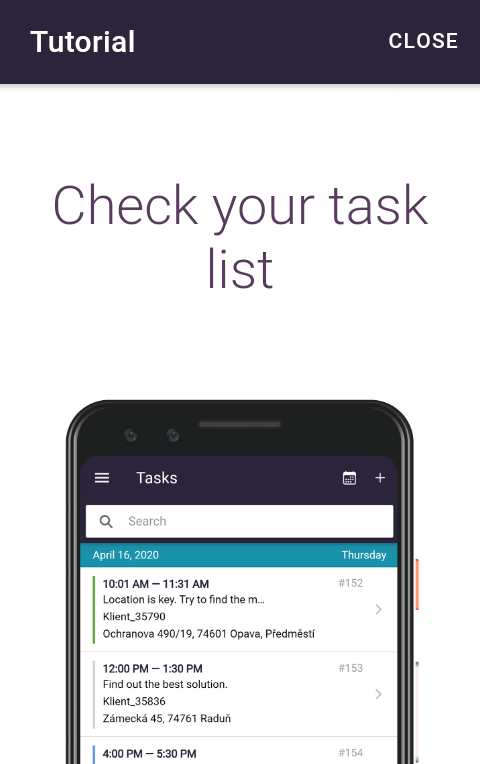
Tips for use
In the Tips for use tab you will find a few tips, instructions and hints how to use the application. You can close this tab by clicking on CLOSE in the upper right corner.
About
In the About aplication tab you will find basic information about the ISPadmin mobile application (creator, contact, application version). You can close this tab by clicking on CLOSE in the upper right corner.
Adding photos
You can add photos in different tabs or entities. The recording principle is the same for all of them. The universal procedure is described below.

You can upload photos to existing folders or create a new folder.
Creating a new folder
You can create a new folder by hitting the icon ![]() in the upper right corner. Enter the name of the new folder in the form shown (picture below).
in the upper right corner. Enter the name of the new folder in the form shown (picture below).

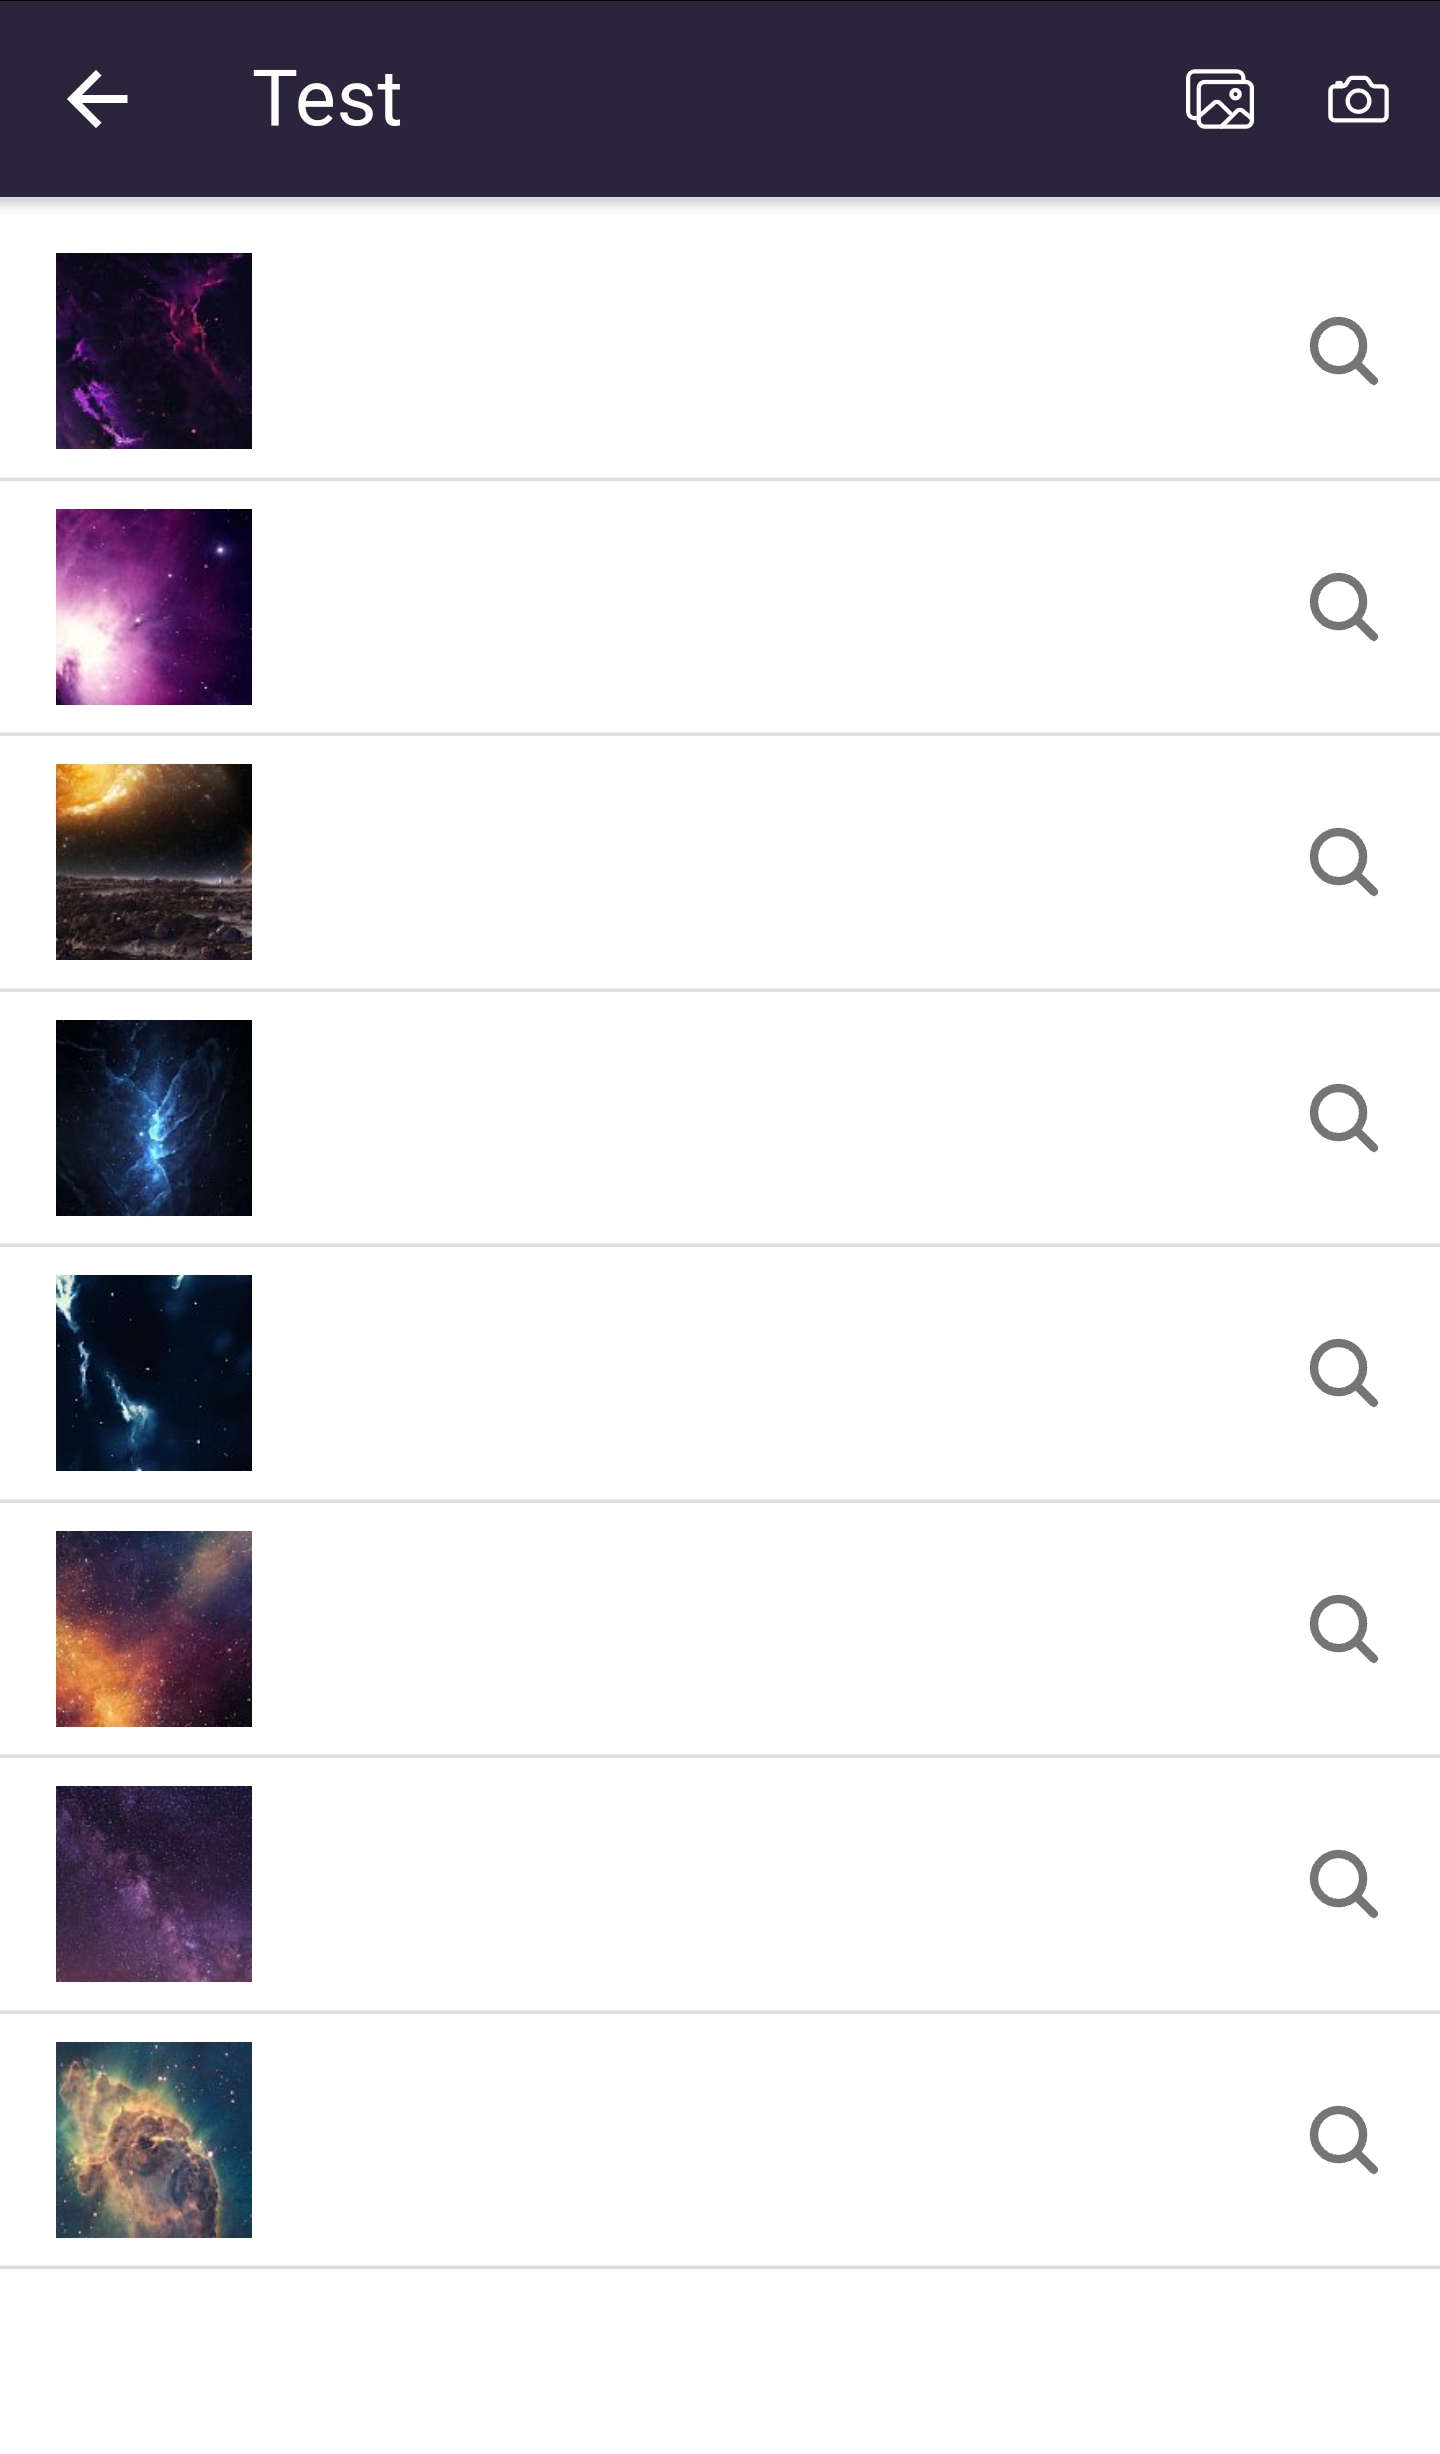
Adding photos from gallery
You can add new photos to an existing or just created folder by selecting photos from the gallery by hitting ![]() (in the upper right corner of the application).
(in the upper right corner of the application).
Taking a photo
You can also add new photos using the camera at the time of using the application ![]() the upper right corner of the application).
the upper right corner of the application).